Create a New Issue
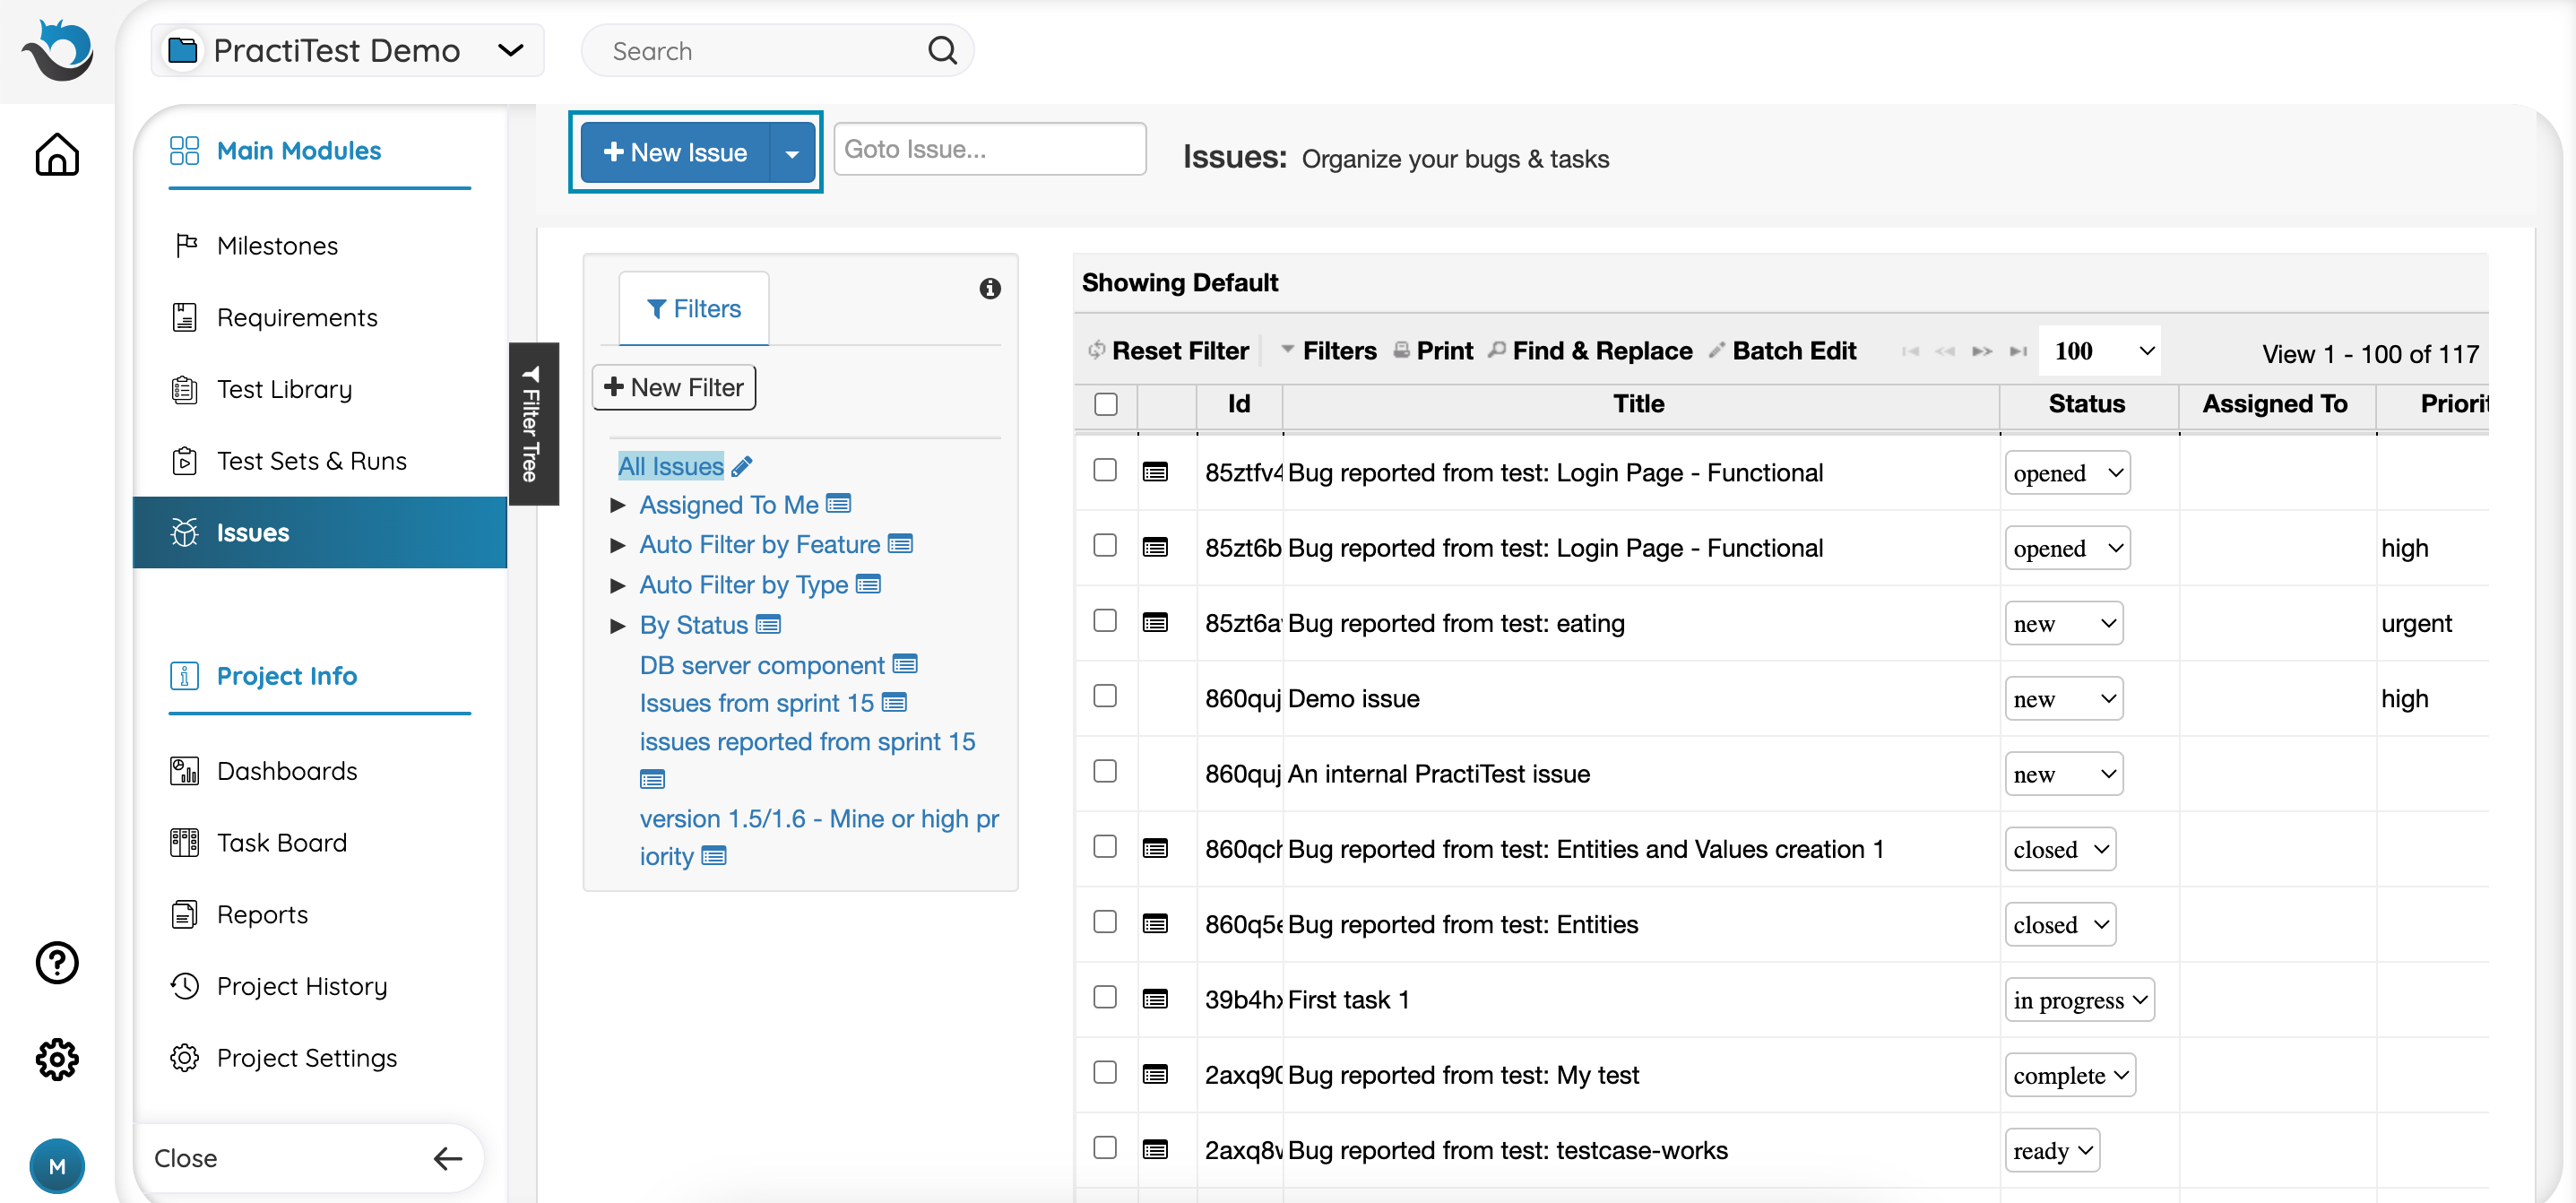
A new issue can be created from the Issues module by clicking the ‘New Issue’ button or directly from a test run by clicking the ‘Fail & Issue’ button.
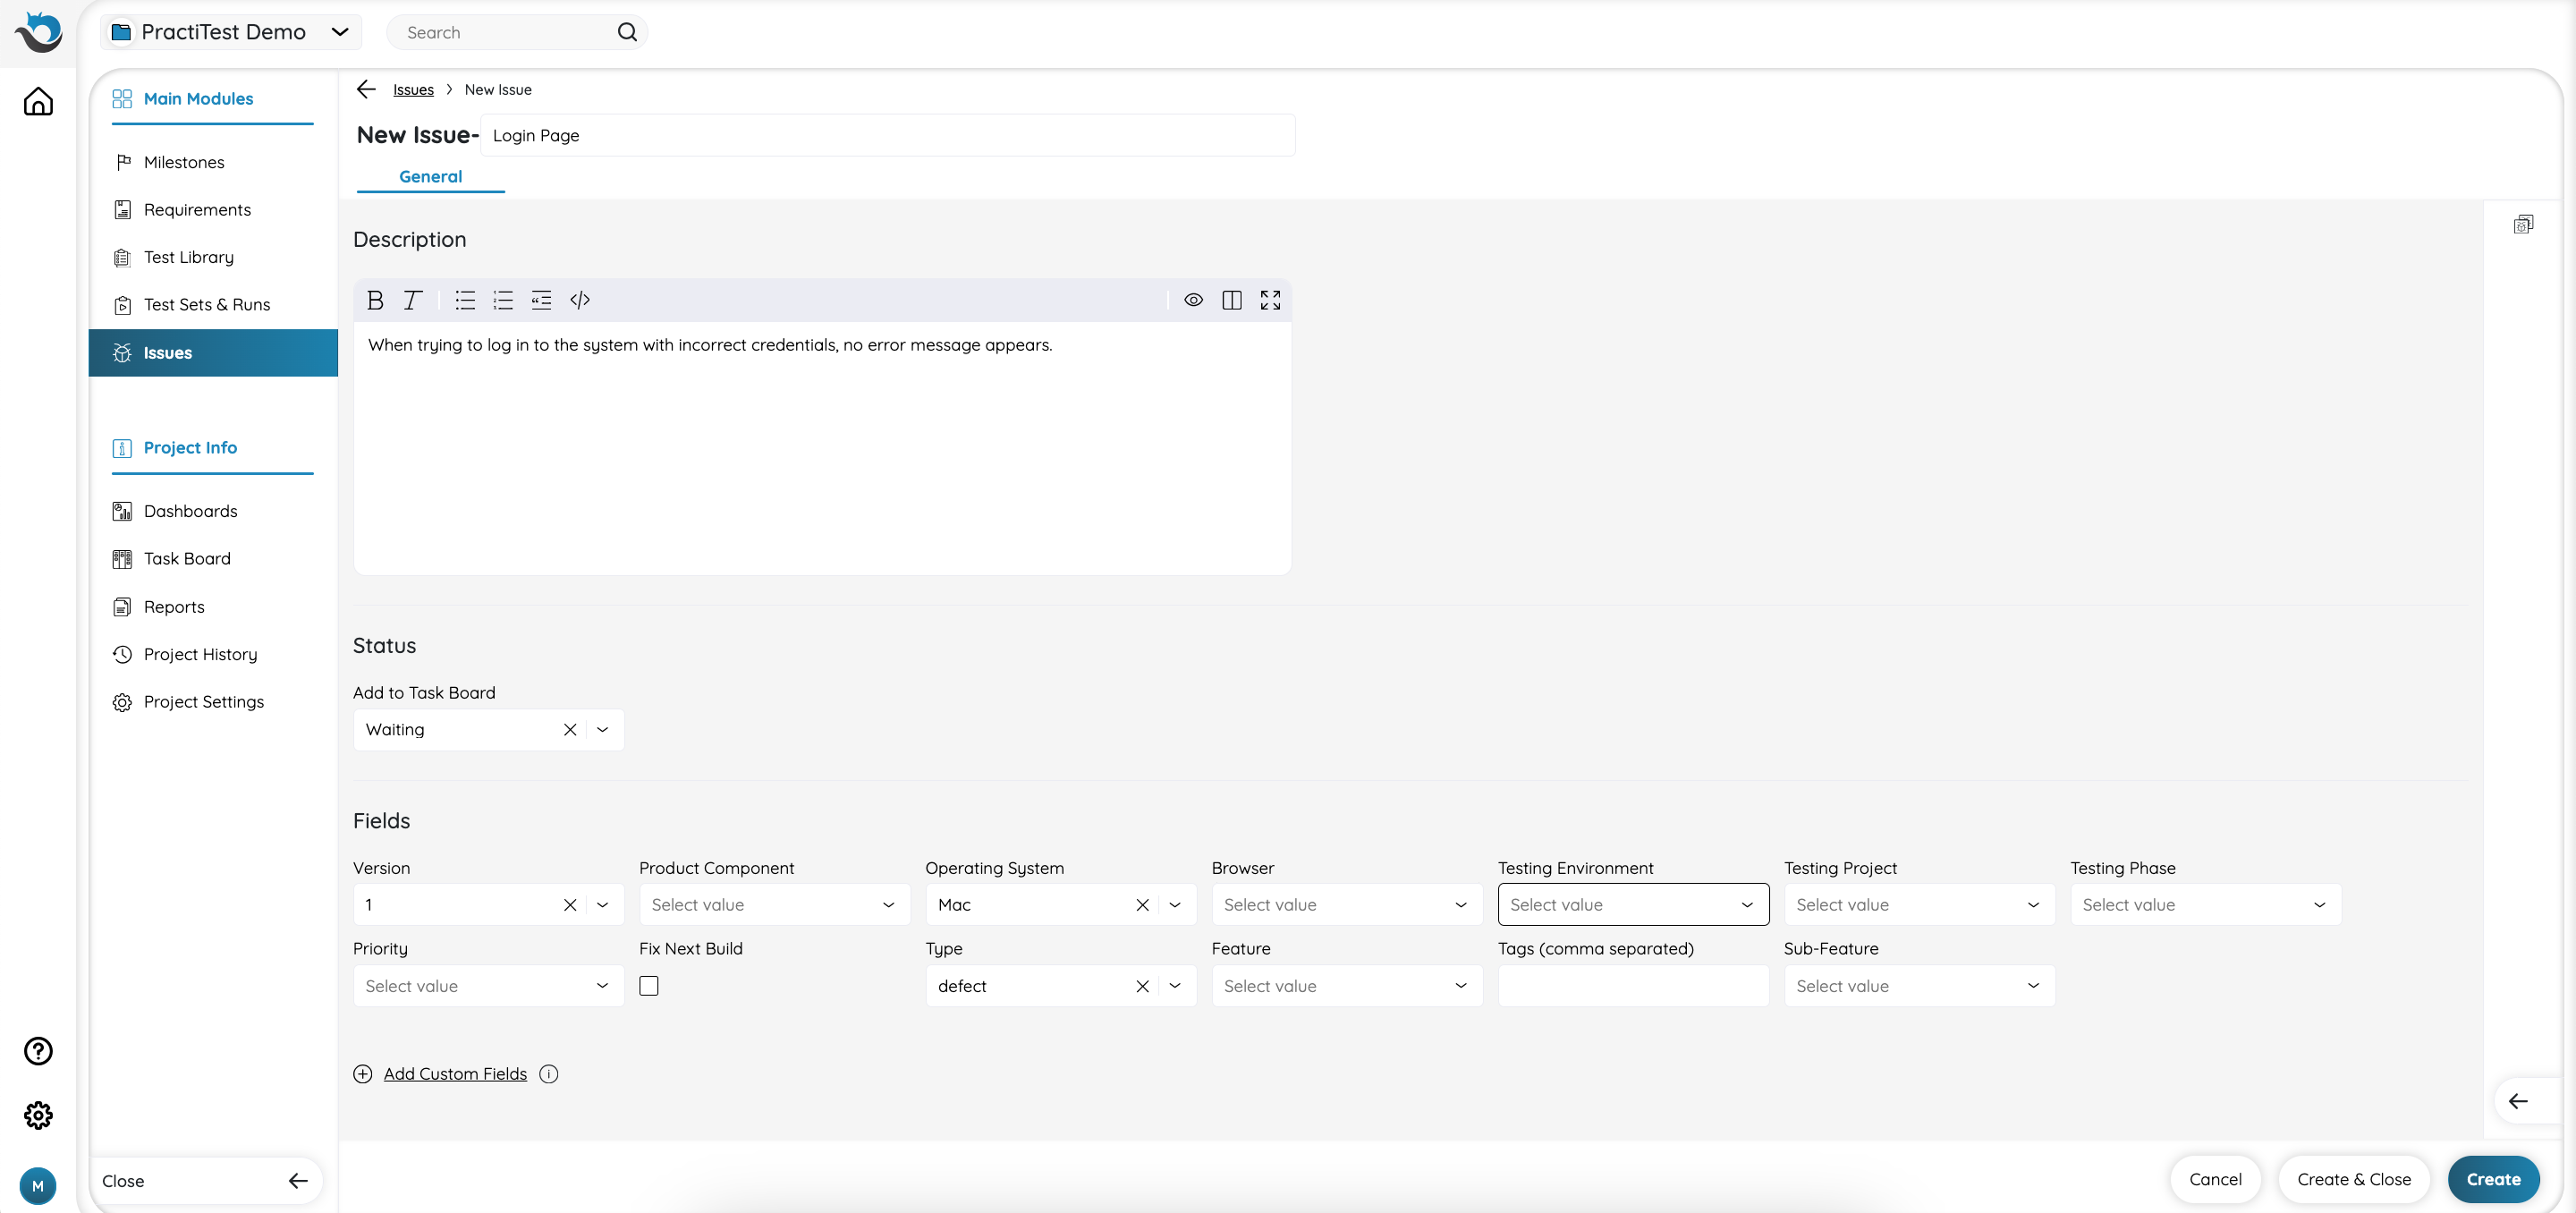
General
From the General tab you can add a description for the issue, select its status in the Task Board, and add values to its fields. If you wish to create a new custom field for this issue, you can do it by clicking on the ‘Add Custom Fields’ link at the bottom of this tab.
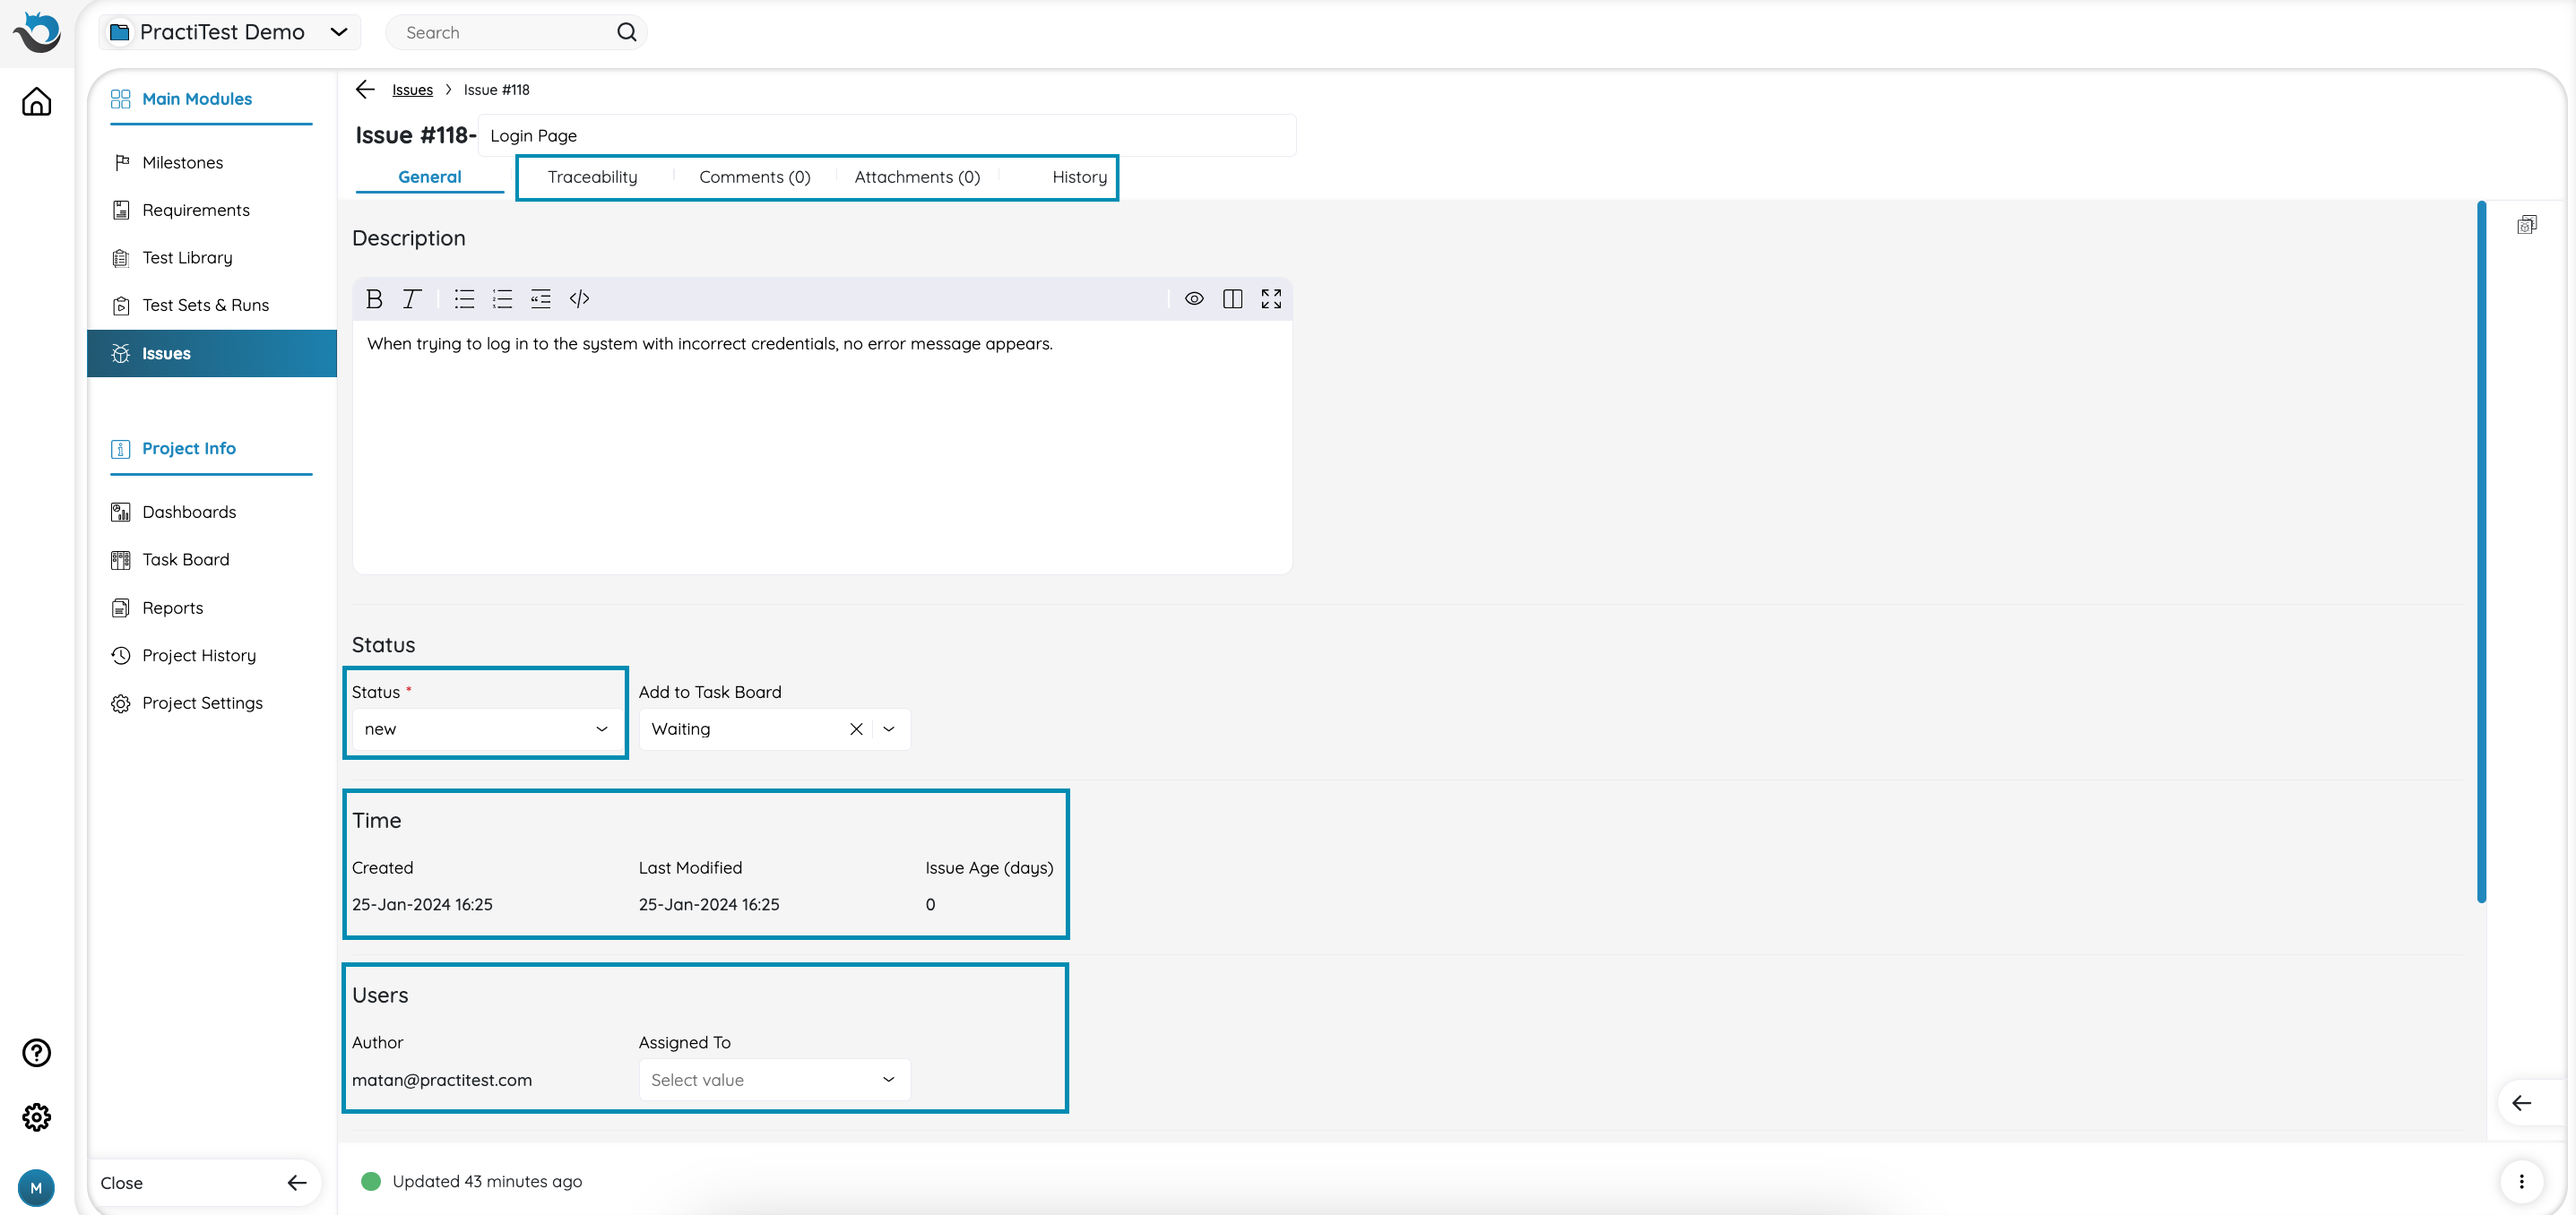
Once you click ‘Create’ at the bottom of the page, the issue will be created and more fields will be added to the general tab (Issue Status, Time section, and Users section) as well as 4 new tabs (Traceability, Attachments, Comments, and History).
Assign an Issue to Users
You can assign an issue to a group of users or a specific user. In the General tab, you’ll see the Users section with ‘Assign to’ field. Click the pick list field to select a user or group, or search for a particular user to assign this issue to.
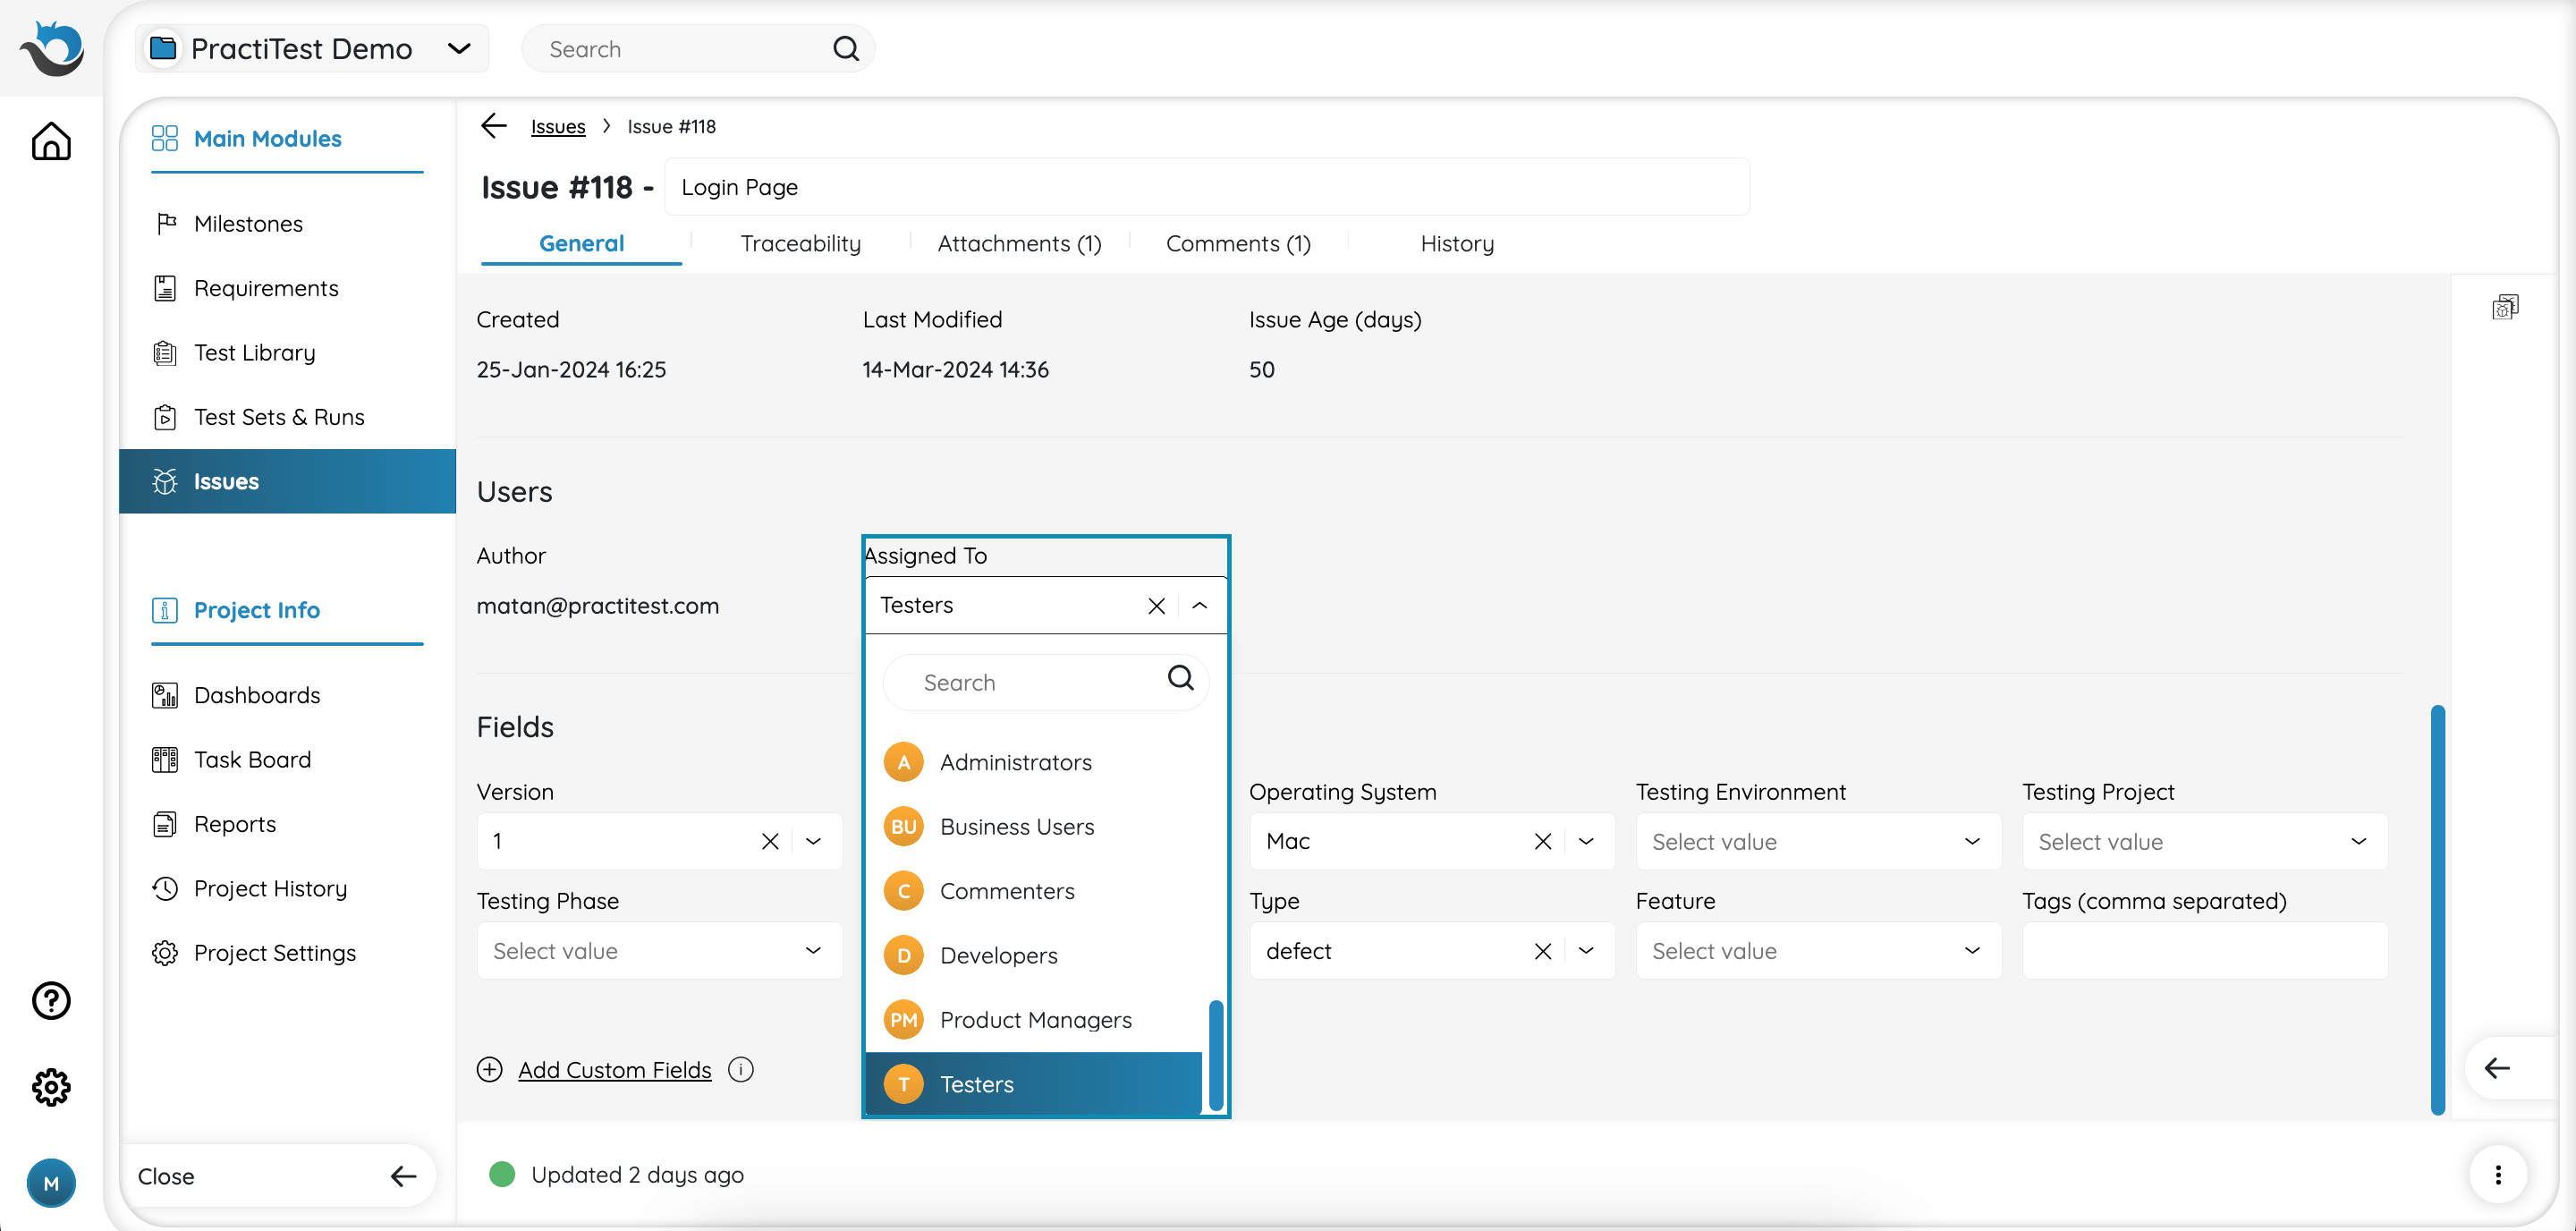
To add or edit users in groups, please refer to our User Management help page.
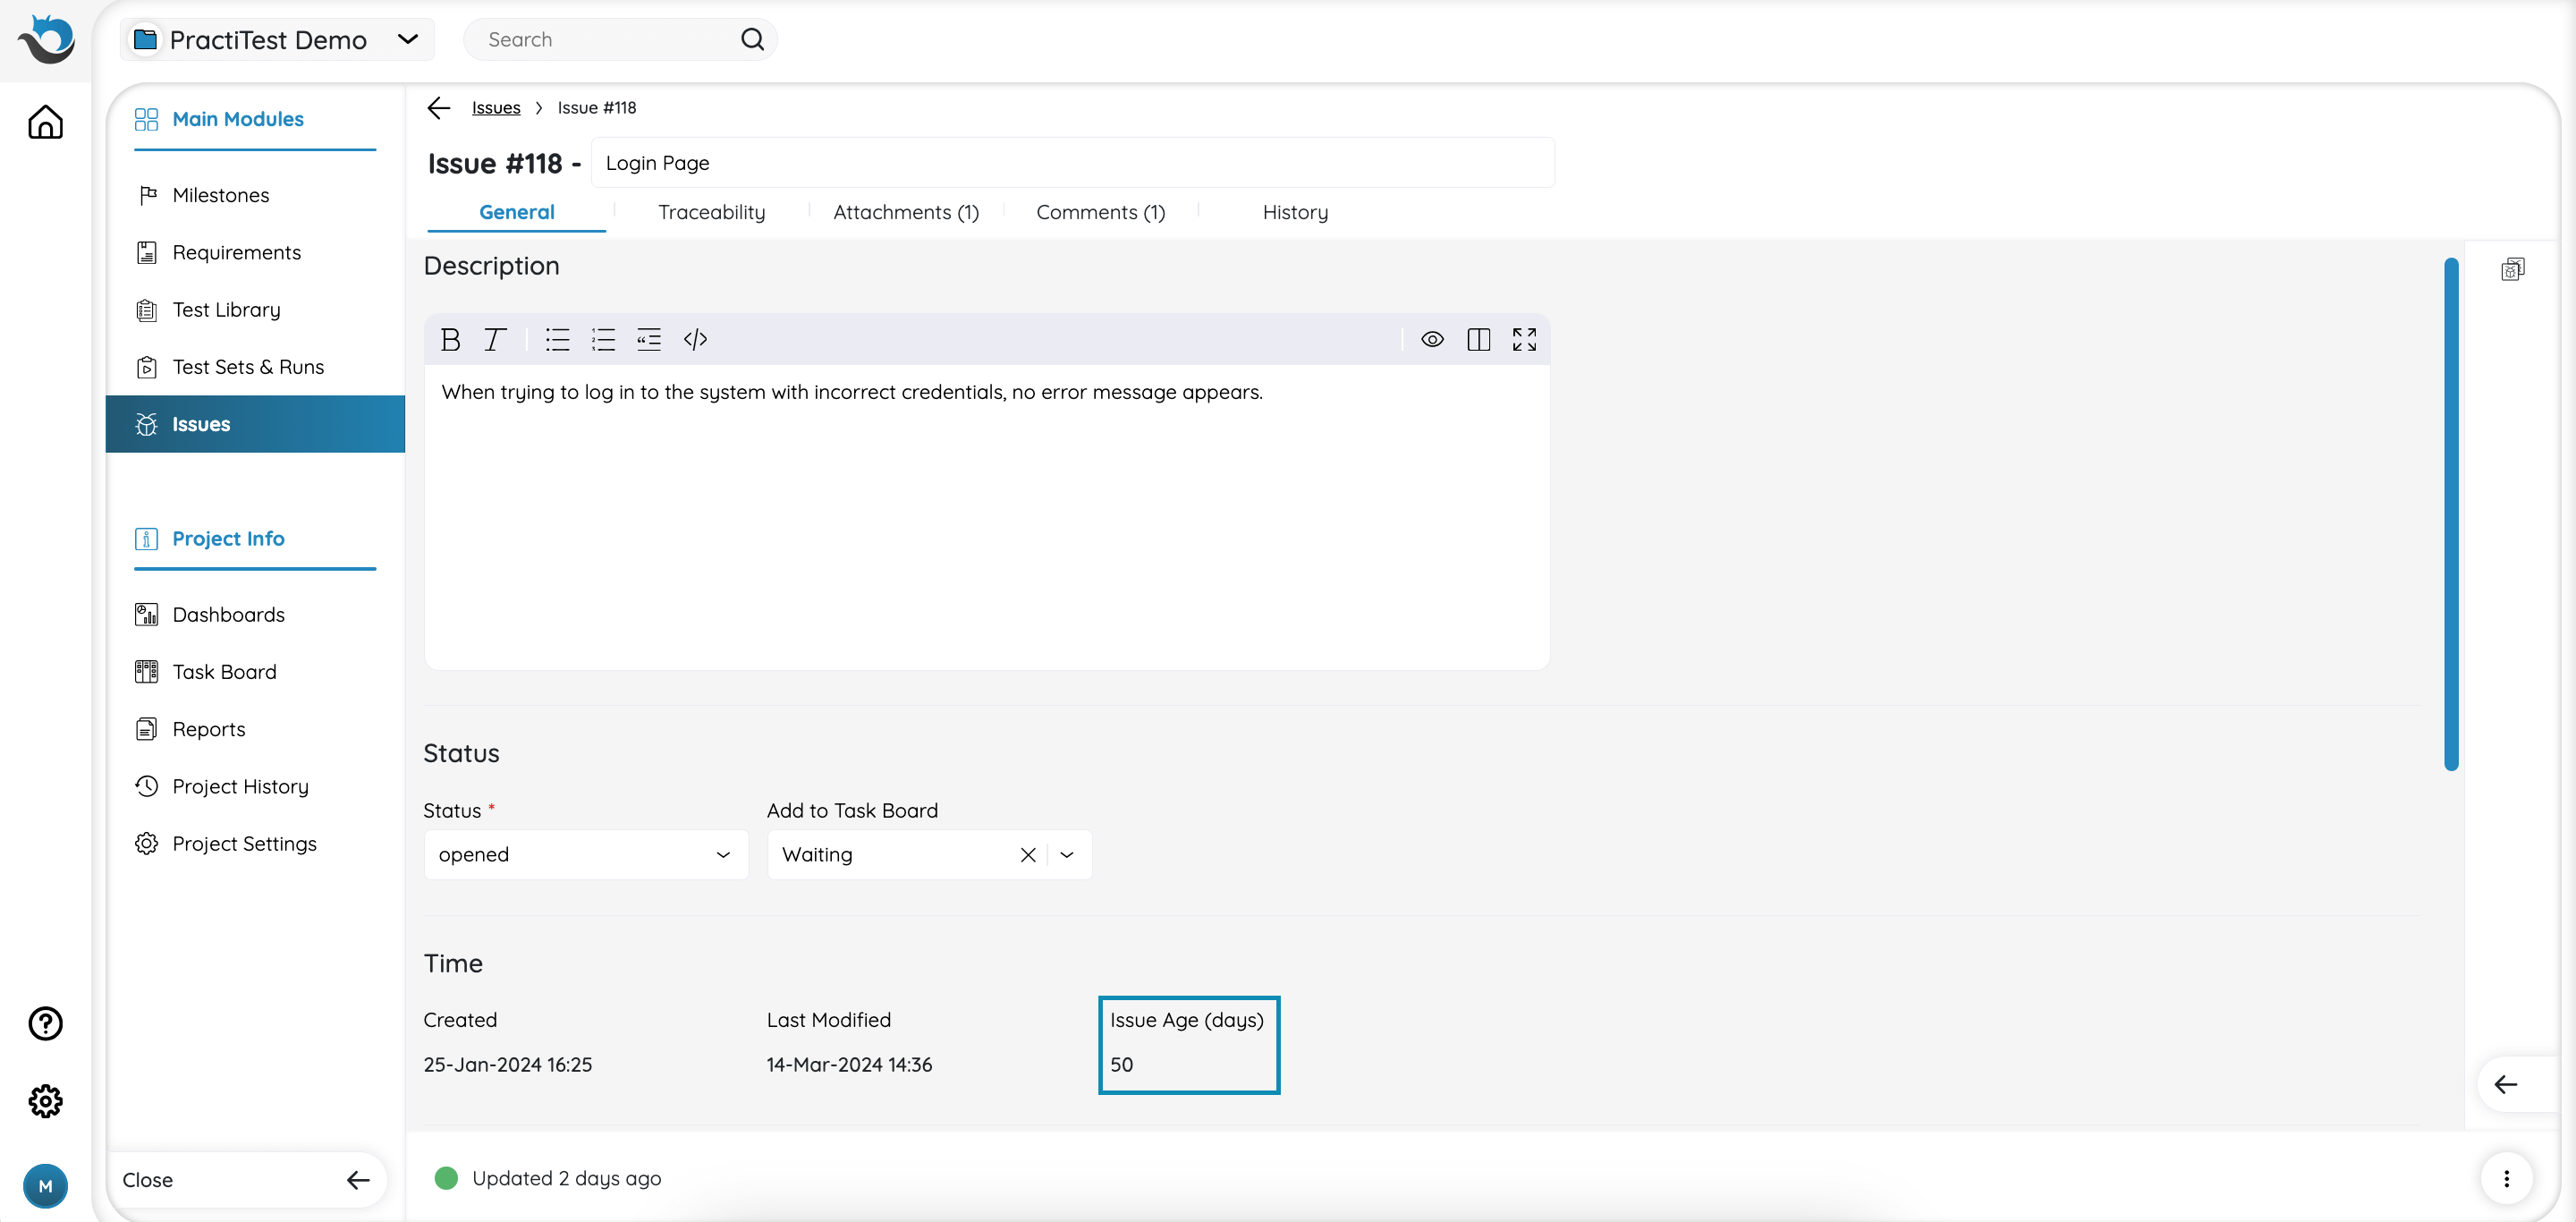
Issue Age
The system field displays the number of days from the ‘created date’ of an issue to either ‘today’ or its closed date. This information is helpful for managing and prioritizing issues effectively.
Similar Issues
PractiTest provides a built-in feature that helps eliminate duplicate bugs. When a user adds a bug to the system, PractiTest promptly identifies other potentially similar bugs in the project. This allows the user to determine whether the reported bug is an original one or a duplicate of an existing issue.
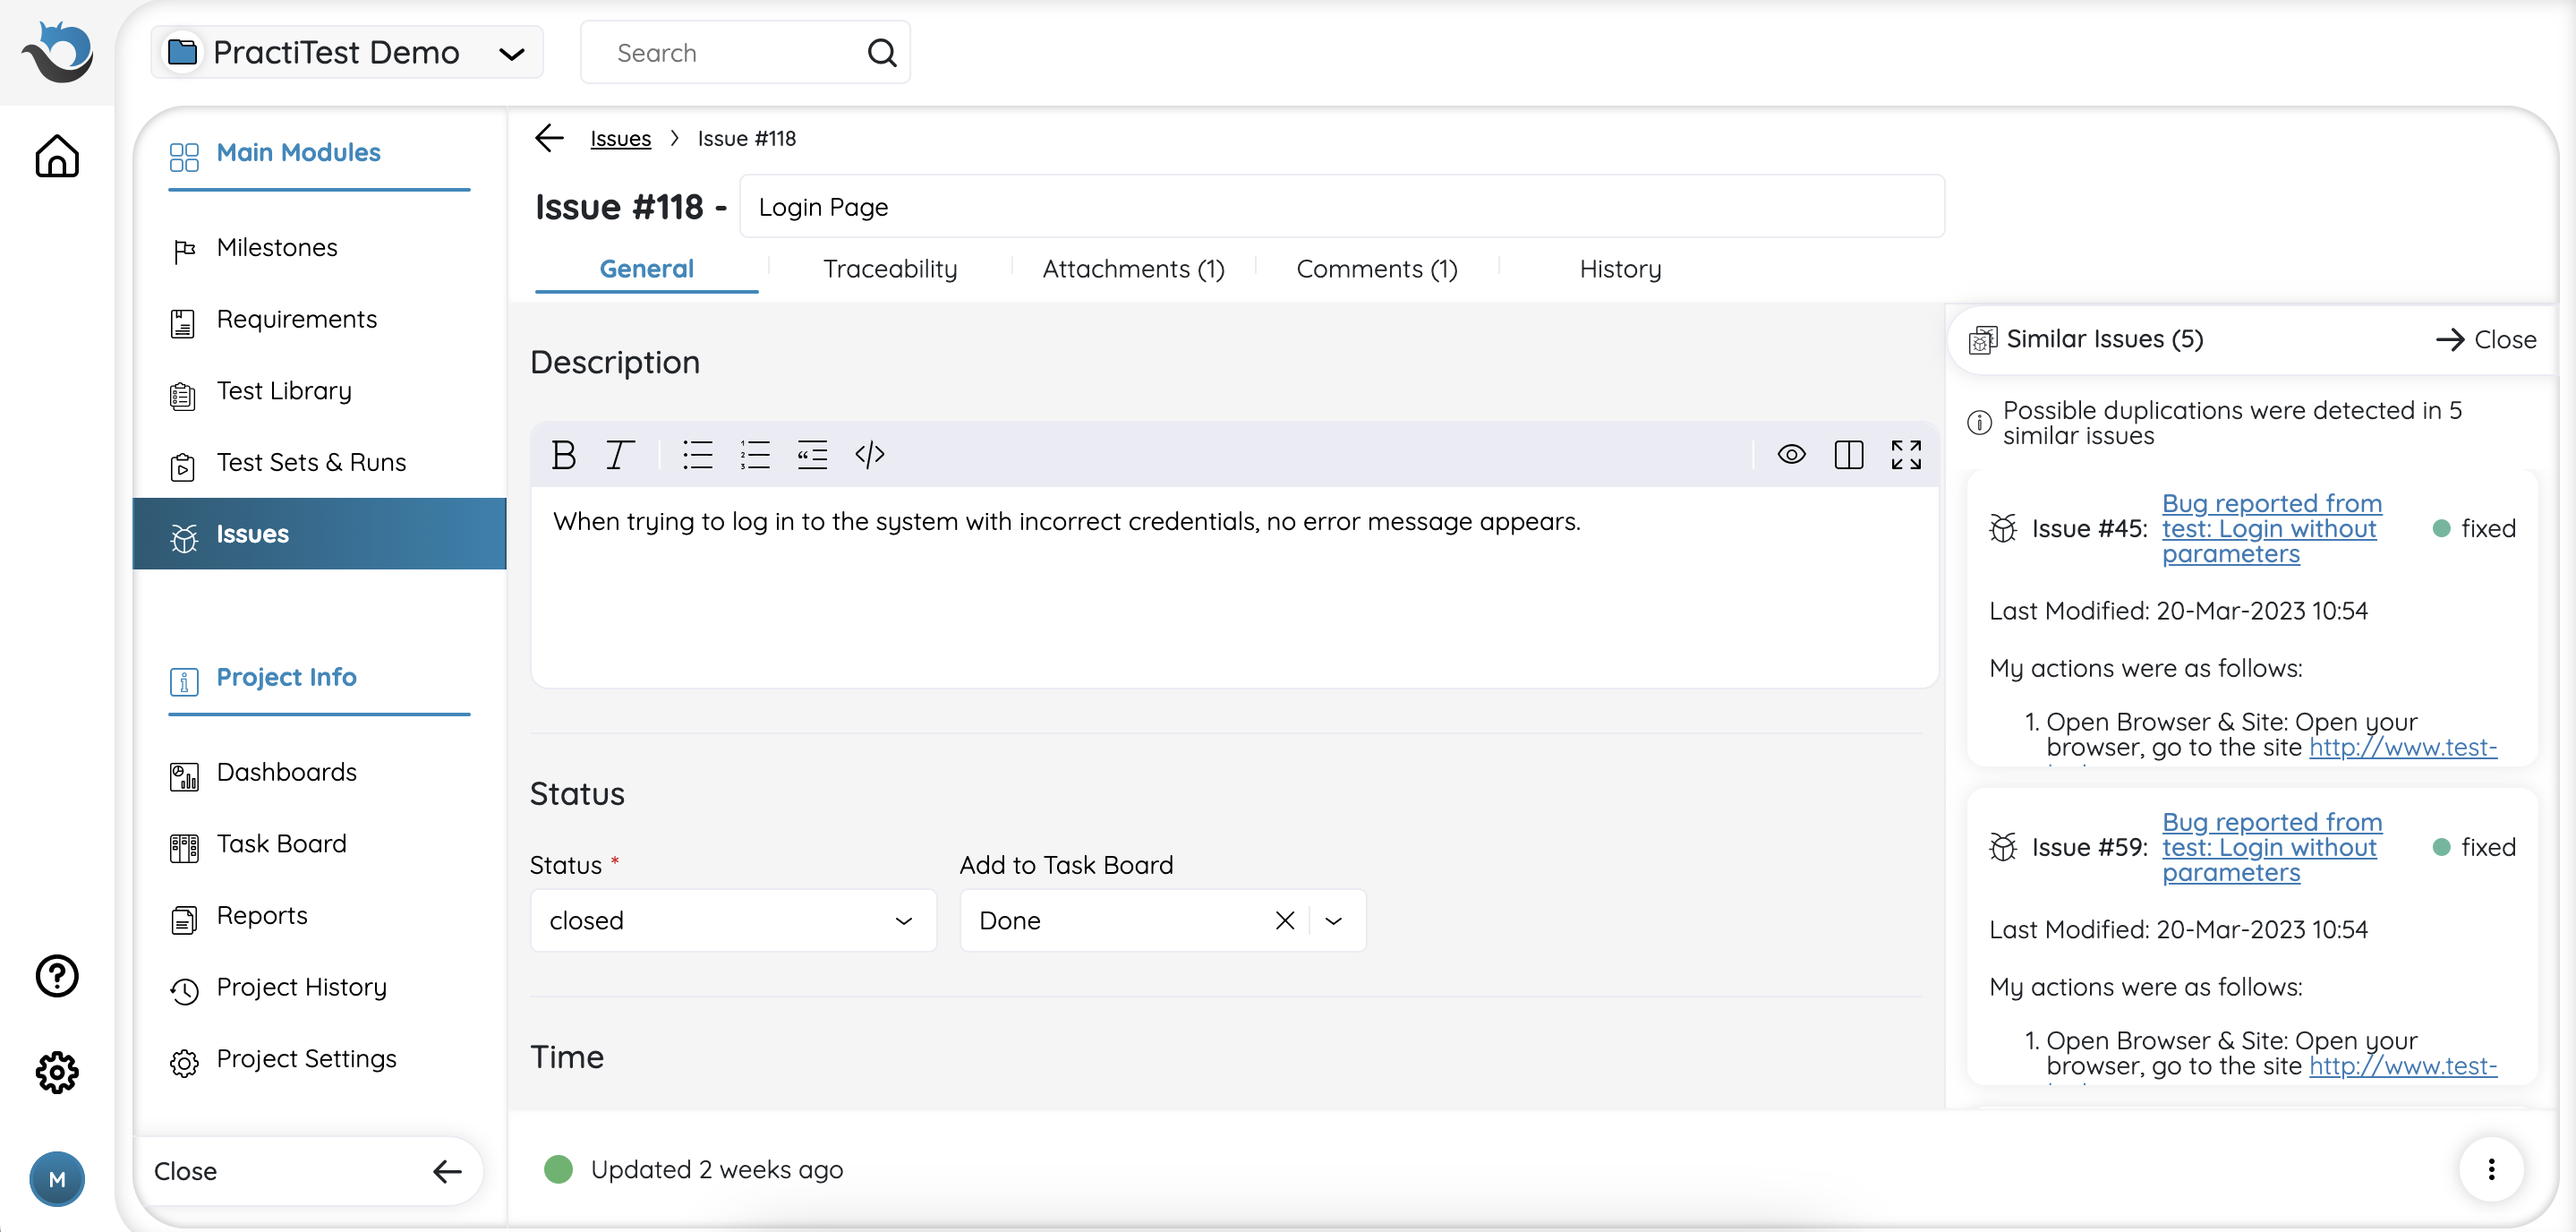
You can either expand or minimize the Similar Issues window by clicking the arrow button at the bottom of the window.
Traceability
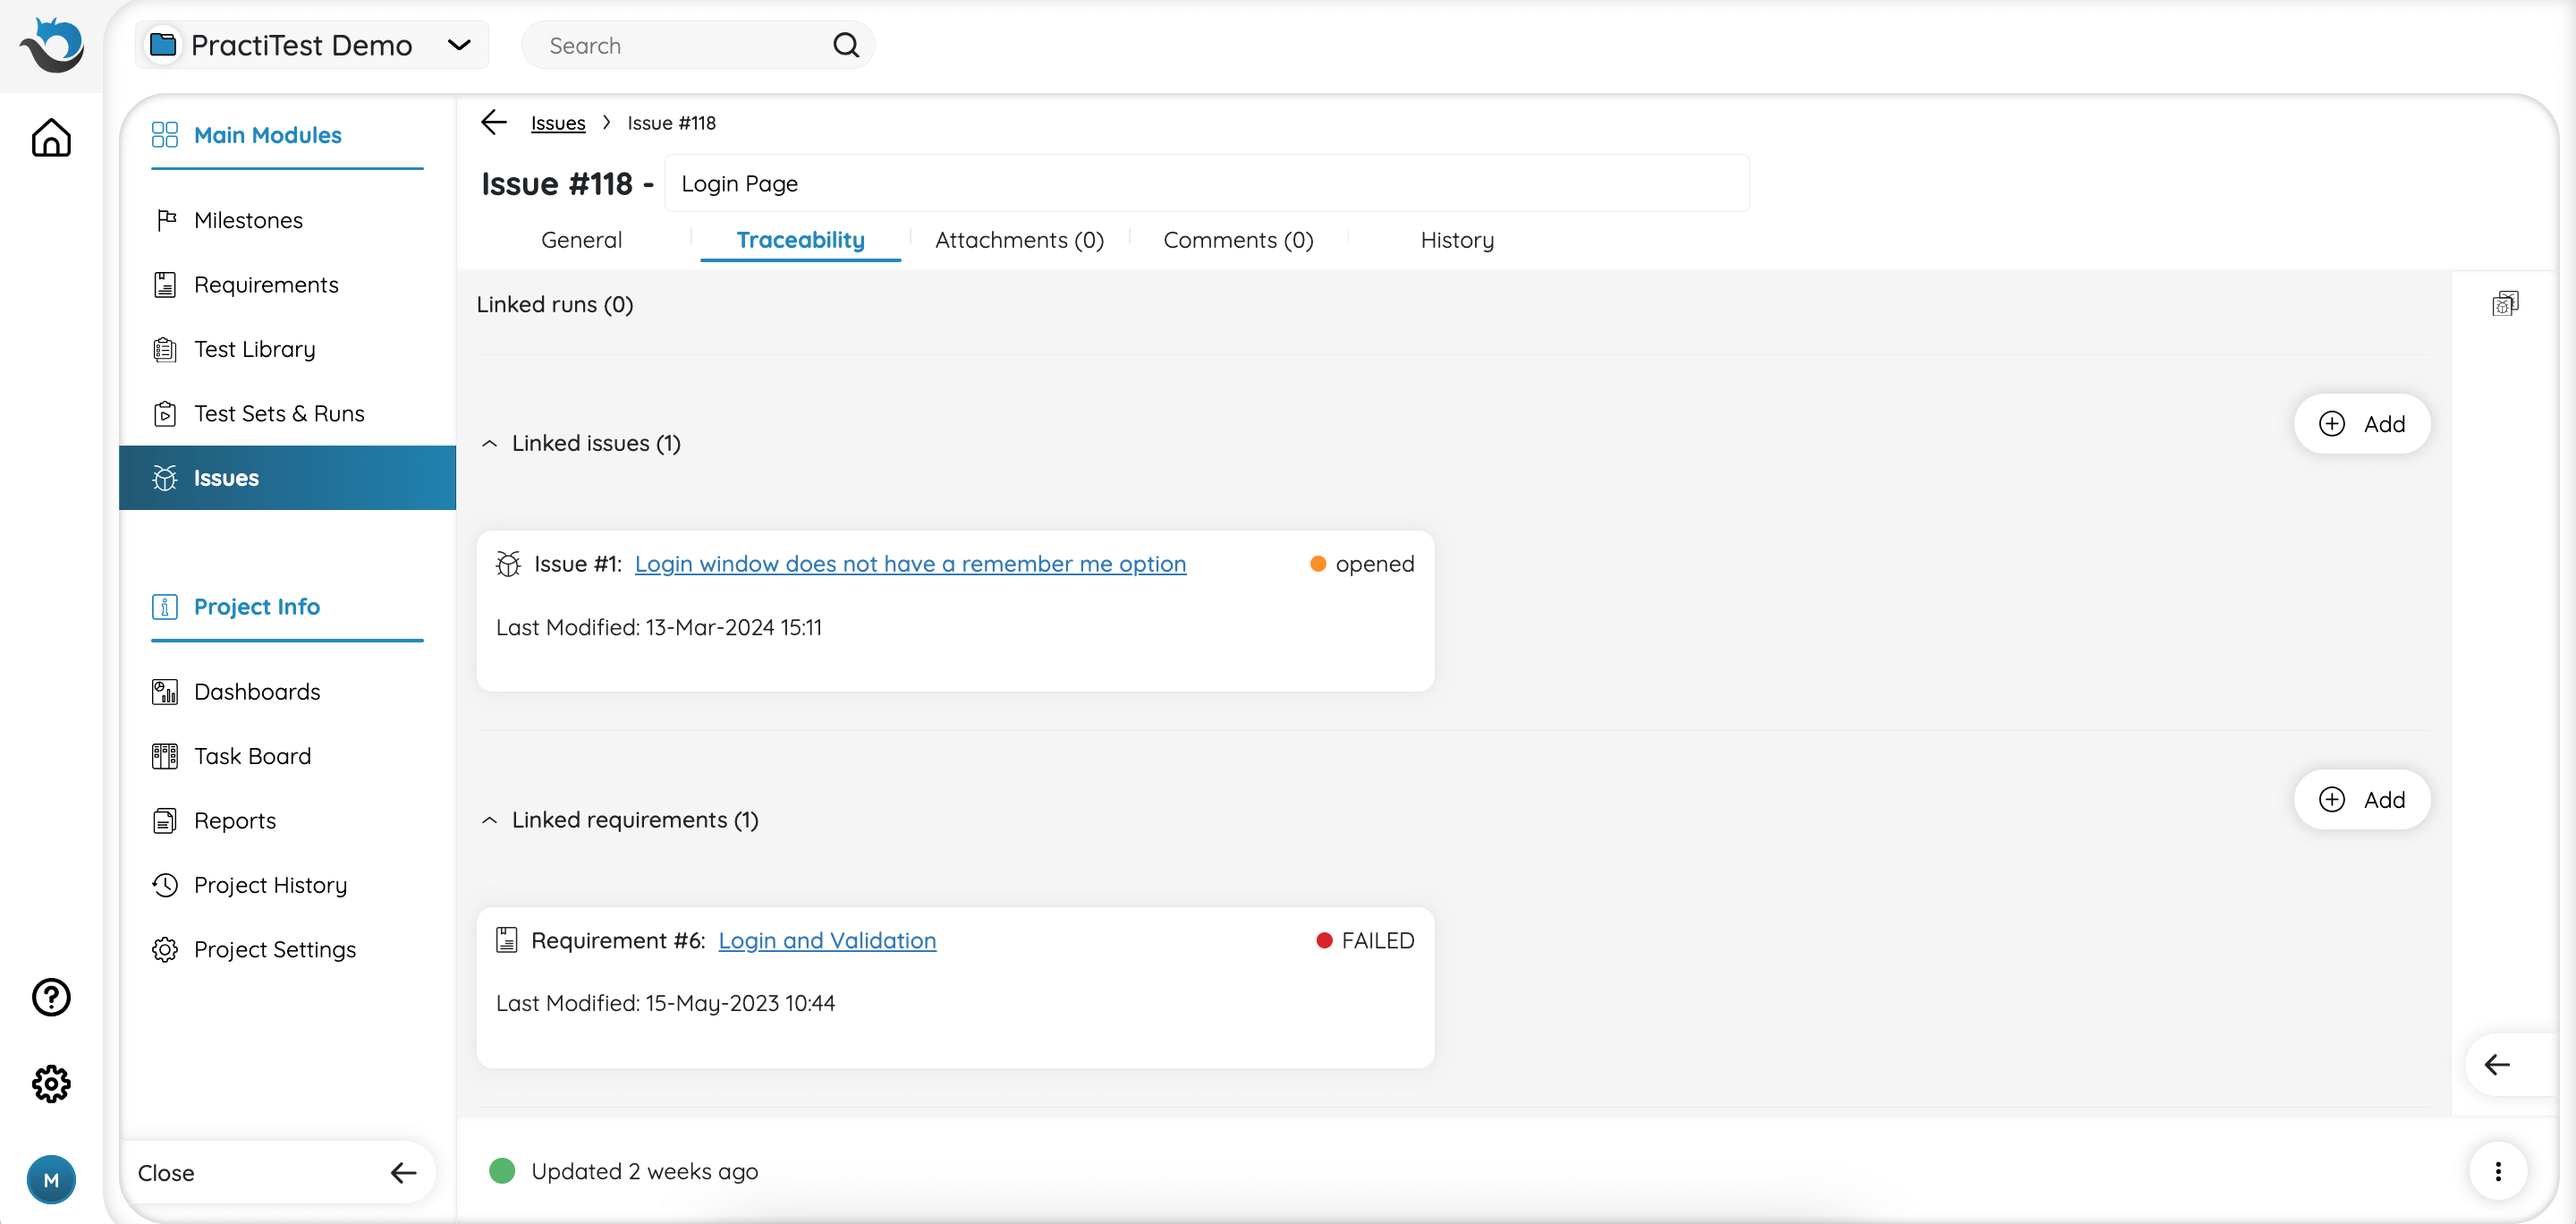
The traceability tab is where you can find and link relevant entities to this issue. Entities that may be relevant can be Test Run (if the issue was reported during a test run), Requirements, Milestone (if this issue needs to be fixed within a specific sprint or version), or other Issues.
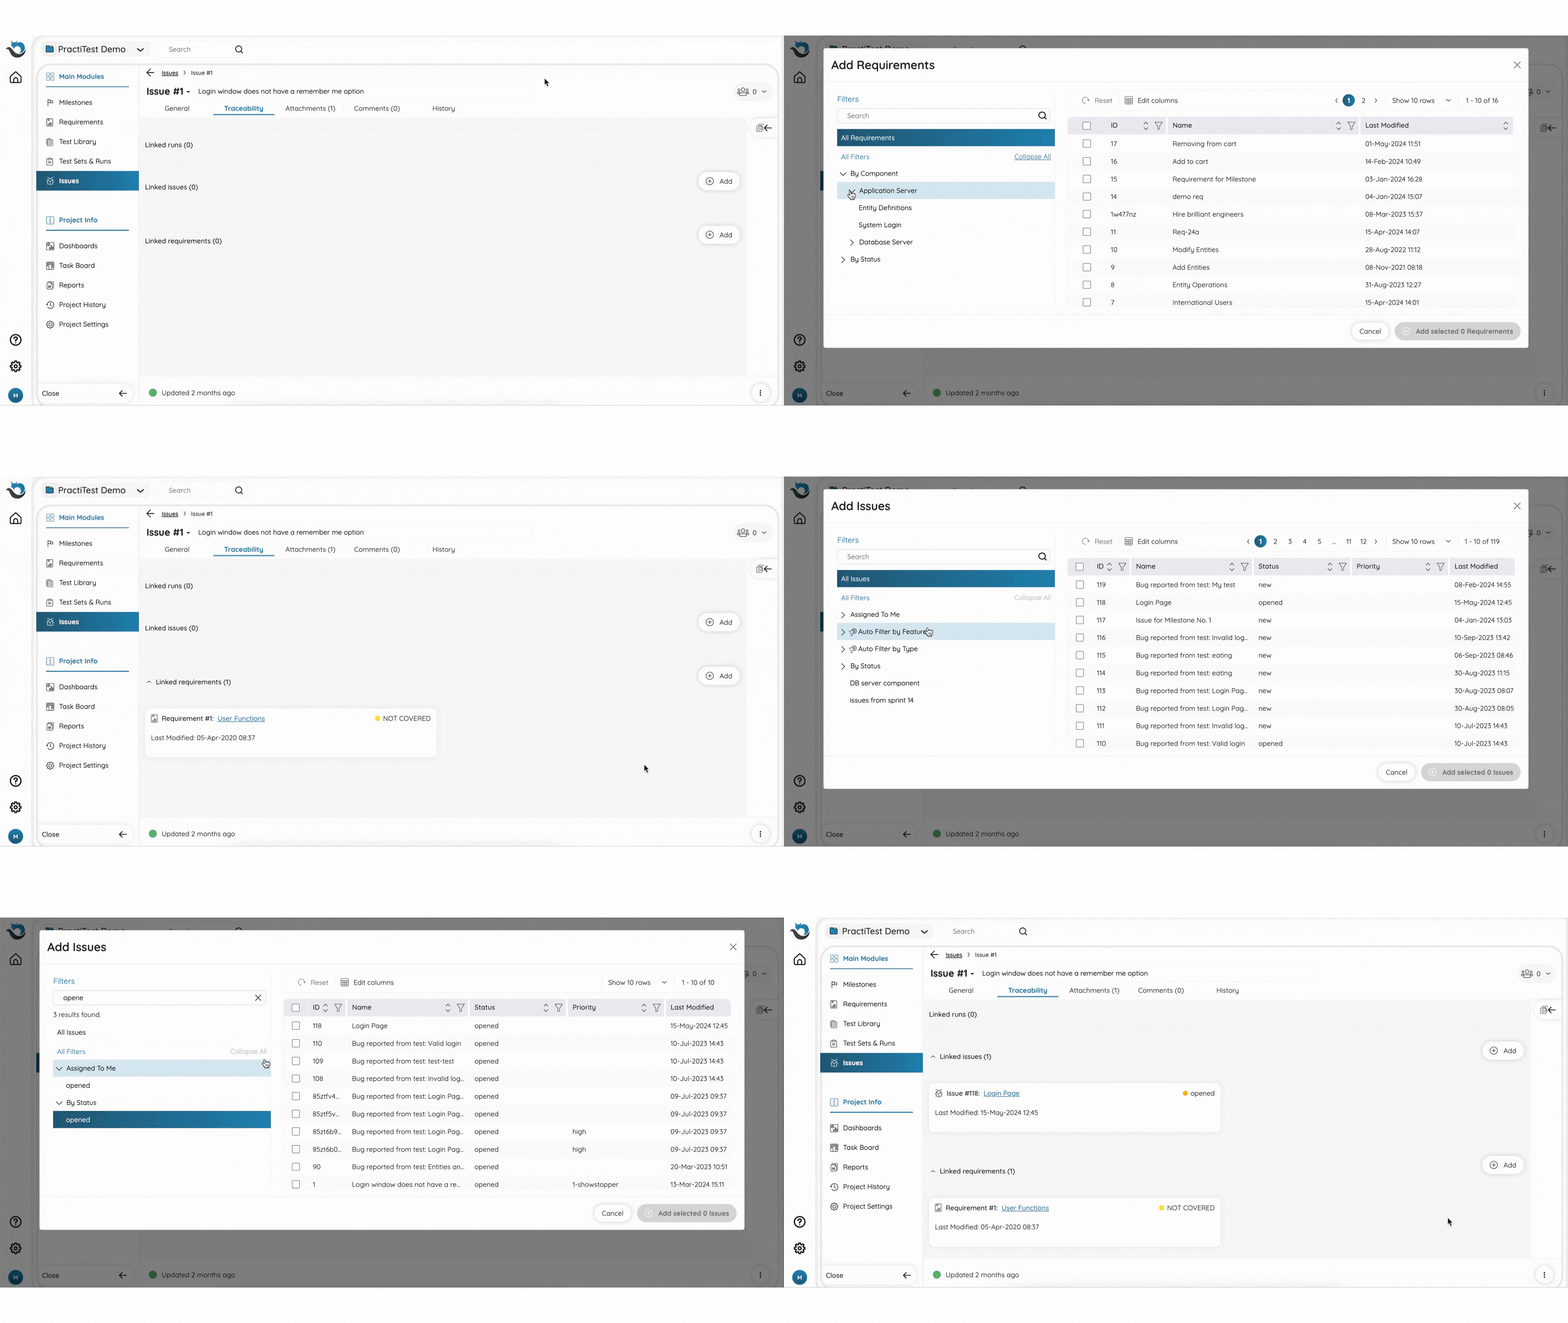
To link an entity to your issue, click on the ‘Add’ button next to the desired entity type list. A new window will open with a list of relevant Filters and a list of all entities. From there, you can either select a Filter from the provided list or search for a specific one. Then, choose the entities you want to link.
Attachments
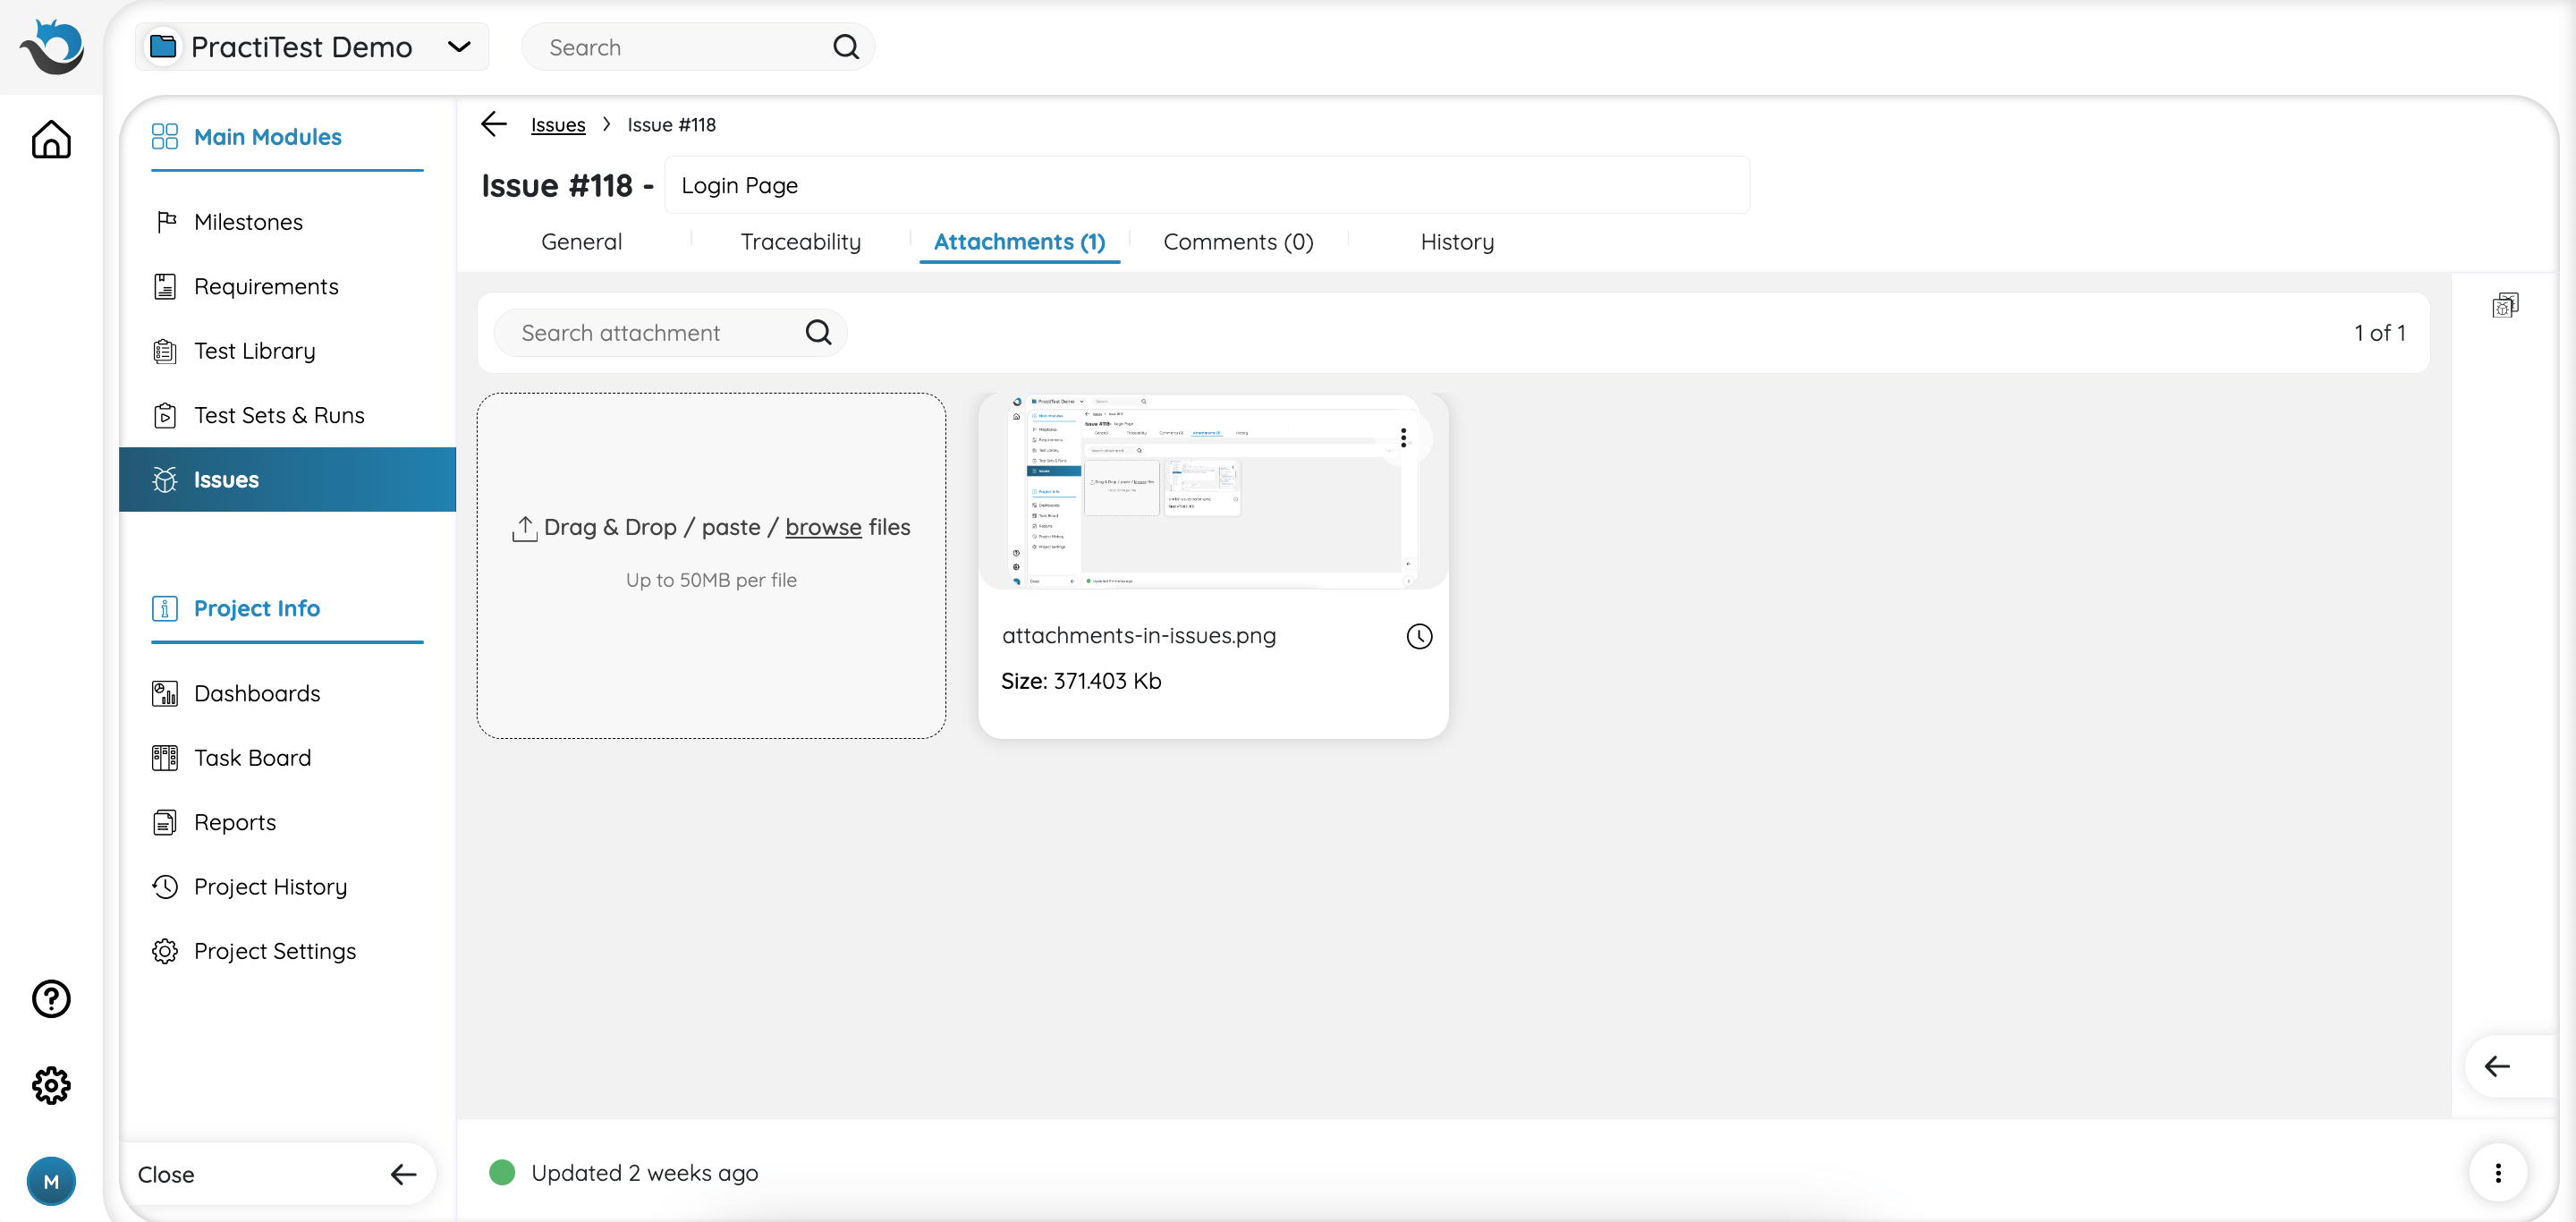
This tab allows you to add, preview, download, rename, delete, and copy the links of your attachments and paste them into the description in the General tab attachments. You can also drag and drop attachments into the description field and the attachment will be added automatically to the entity and appear in the Attachments tab.
Comments
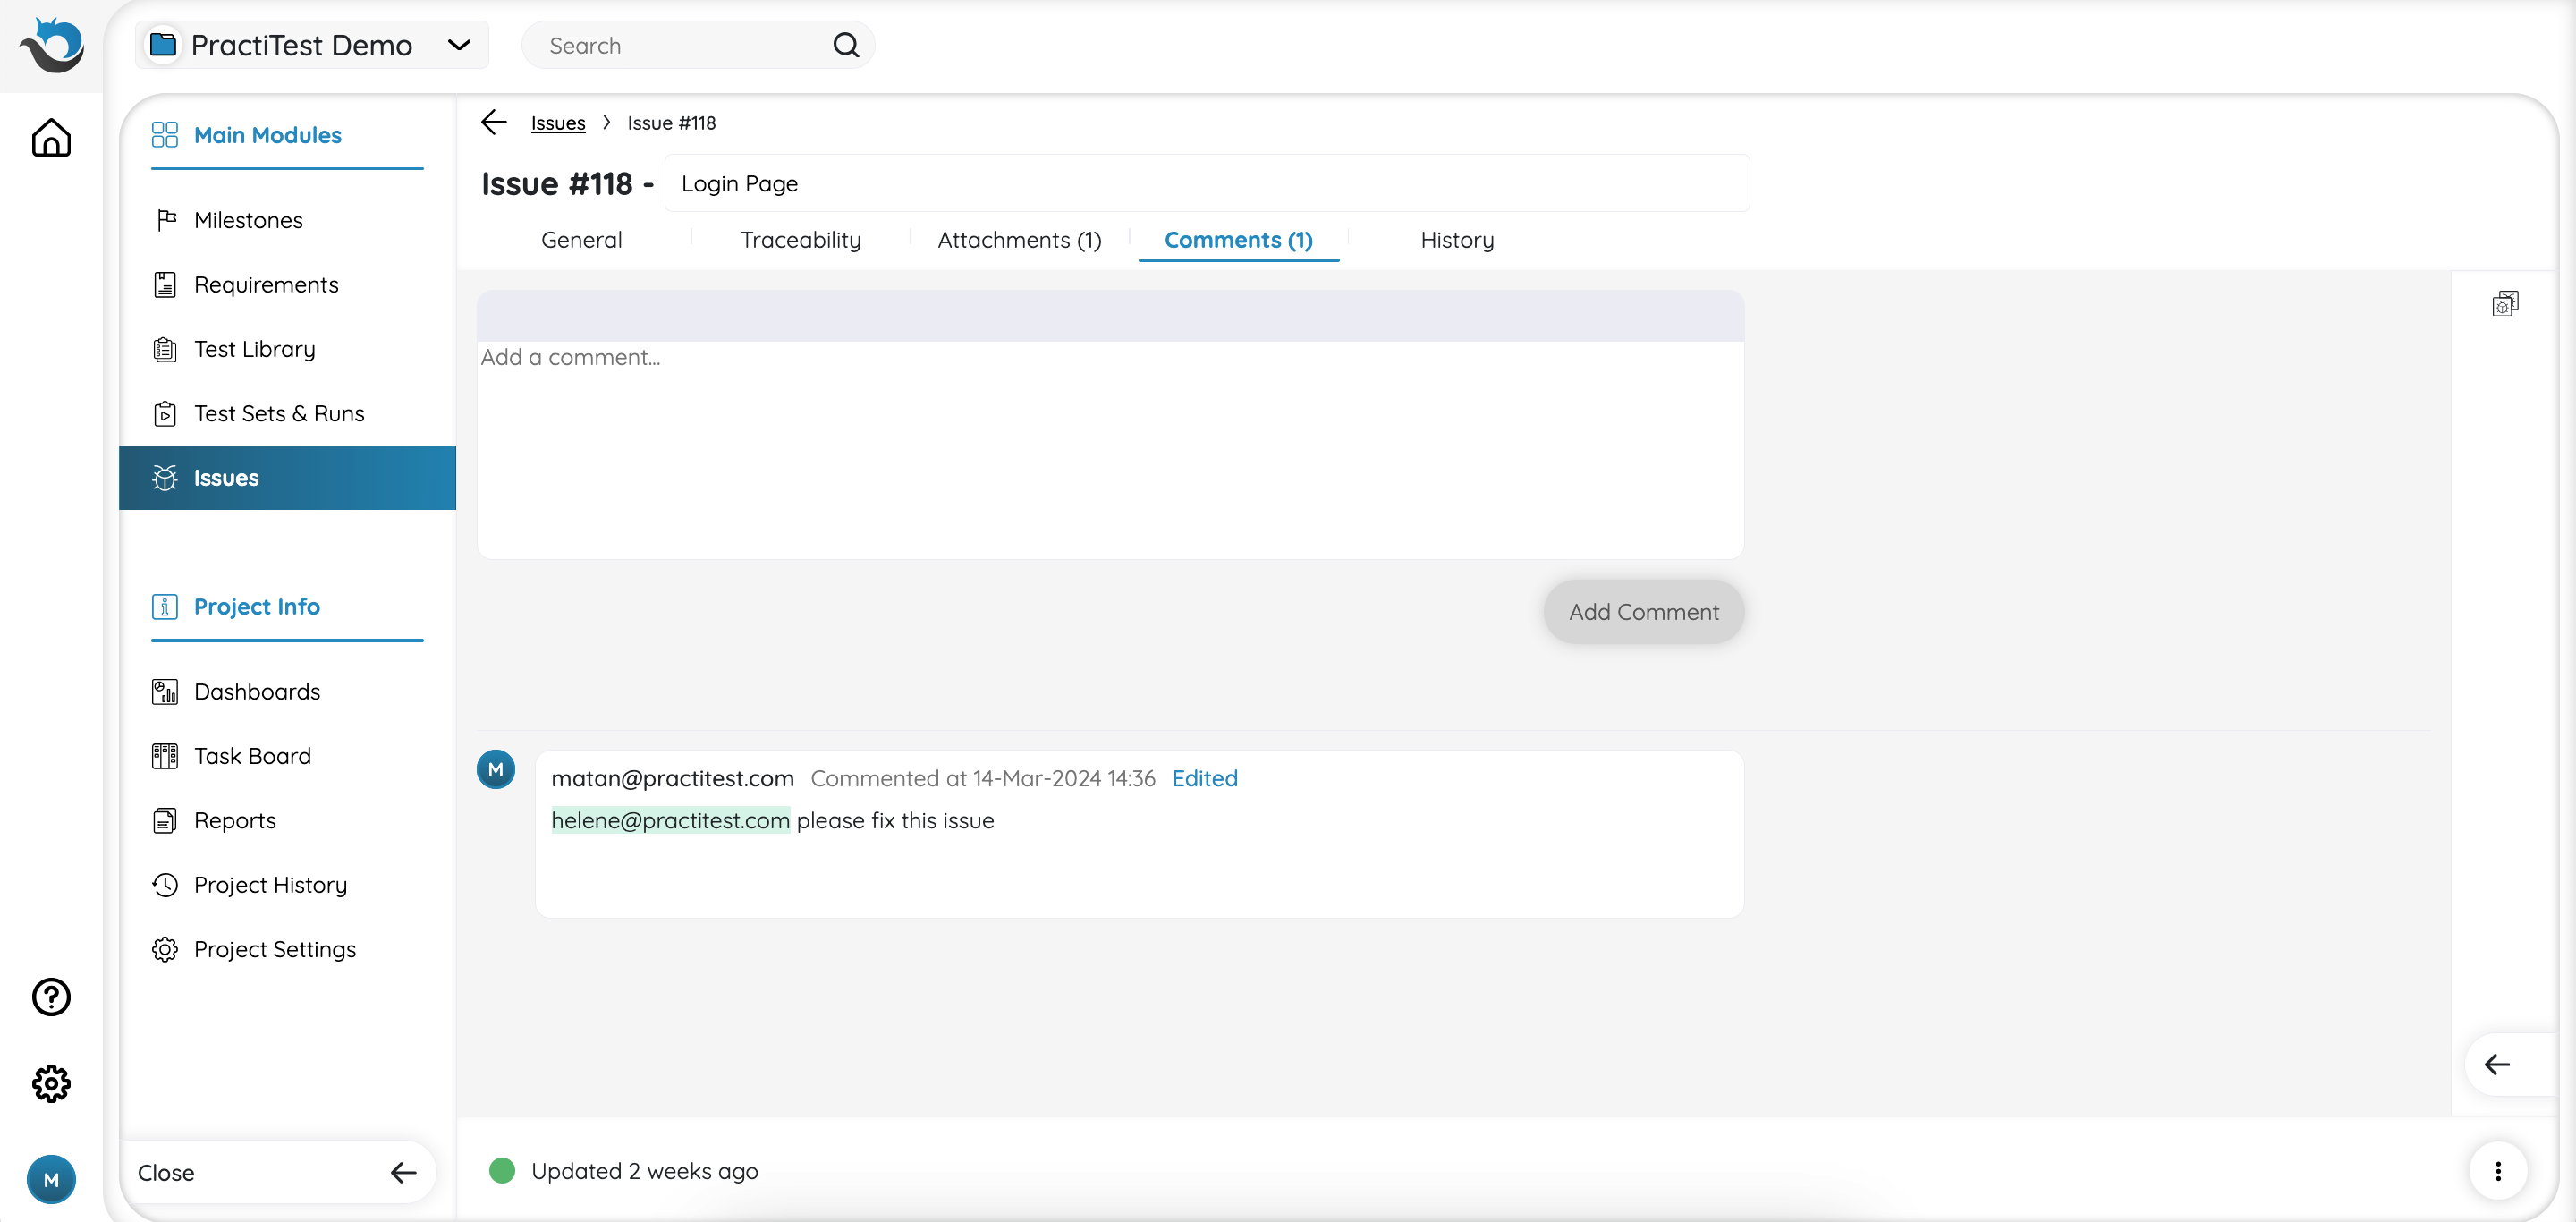
Add and edit comments regarding this Issue. You have the ability to tag other users by using the symbol ‘@’ followed by their username.
History
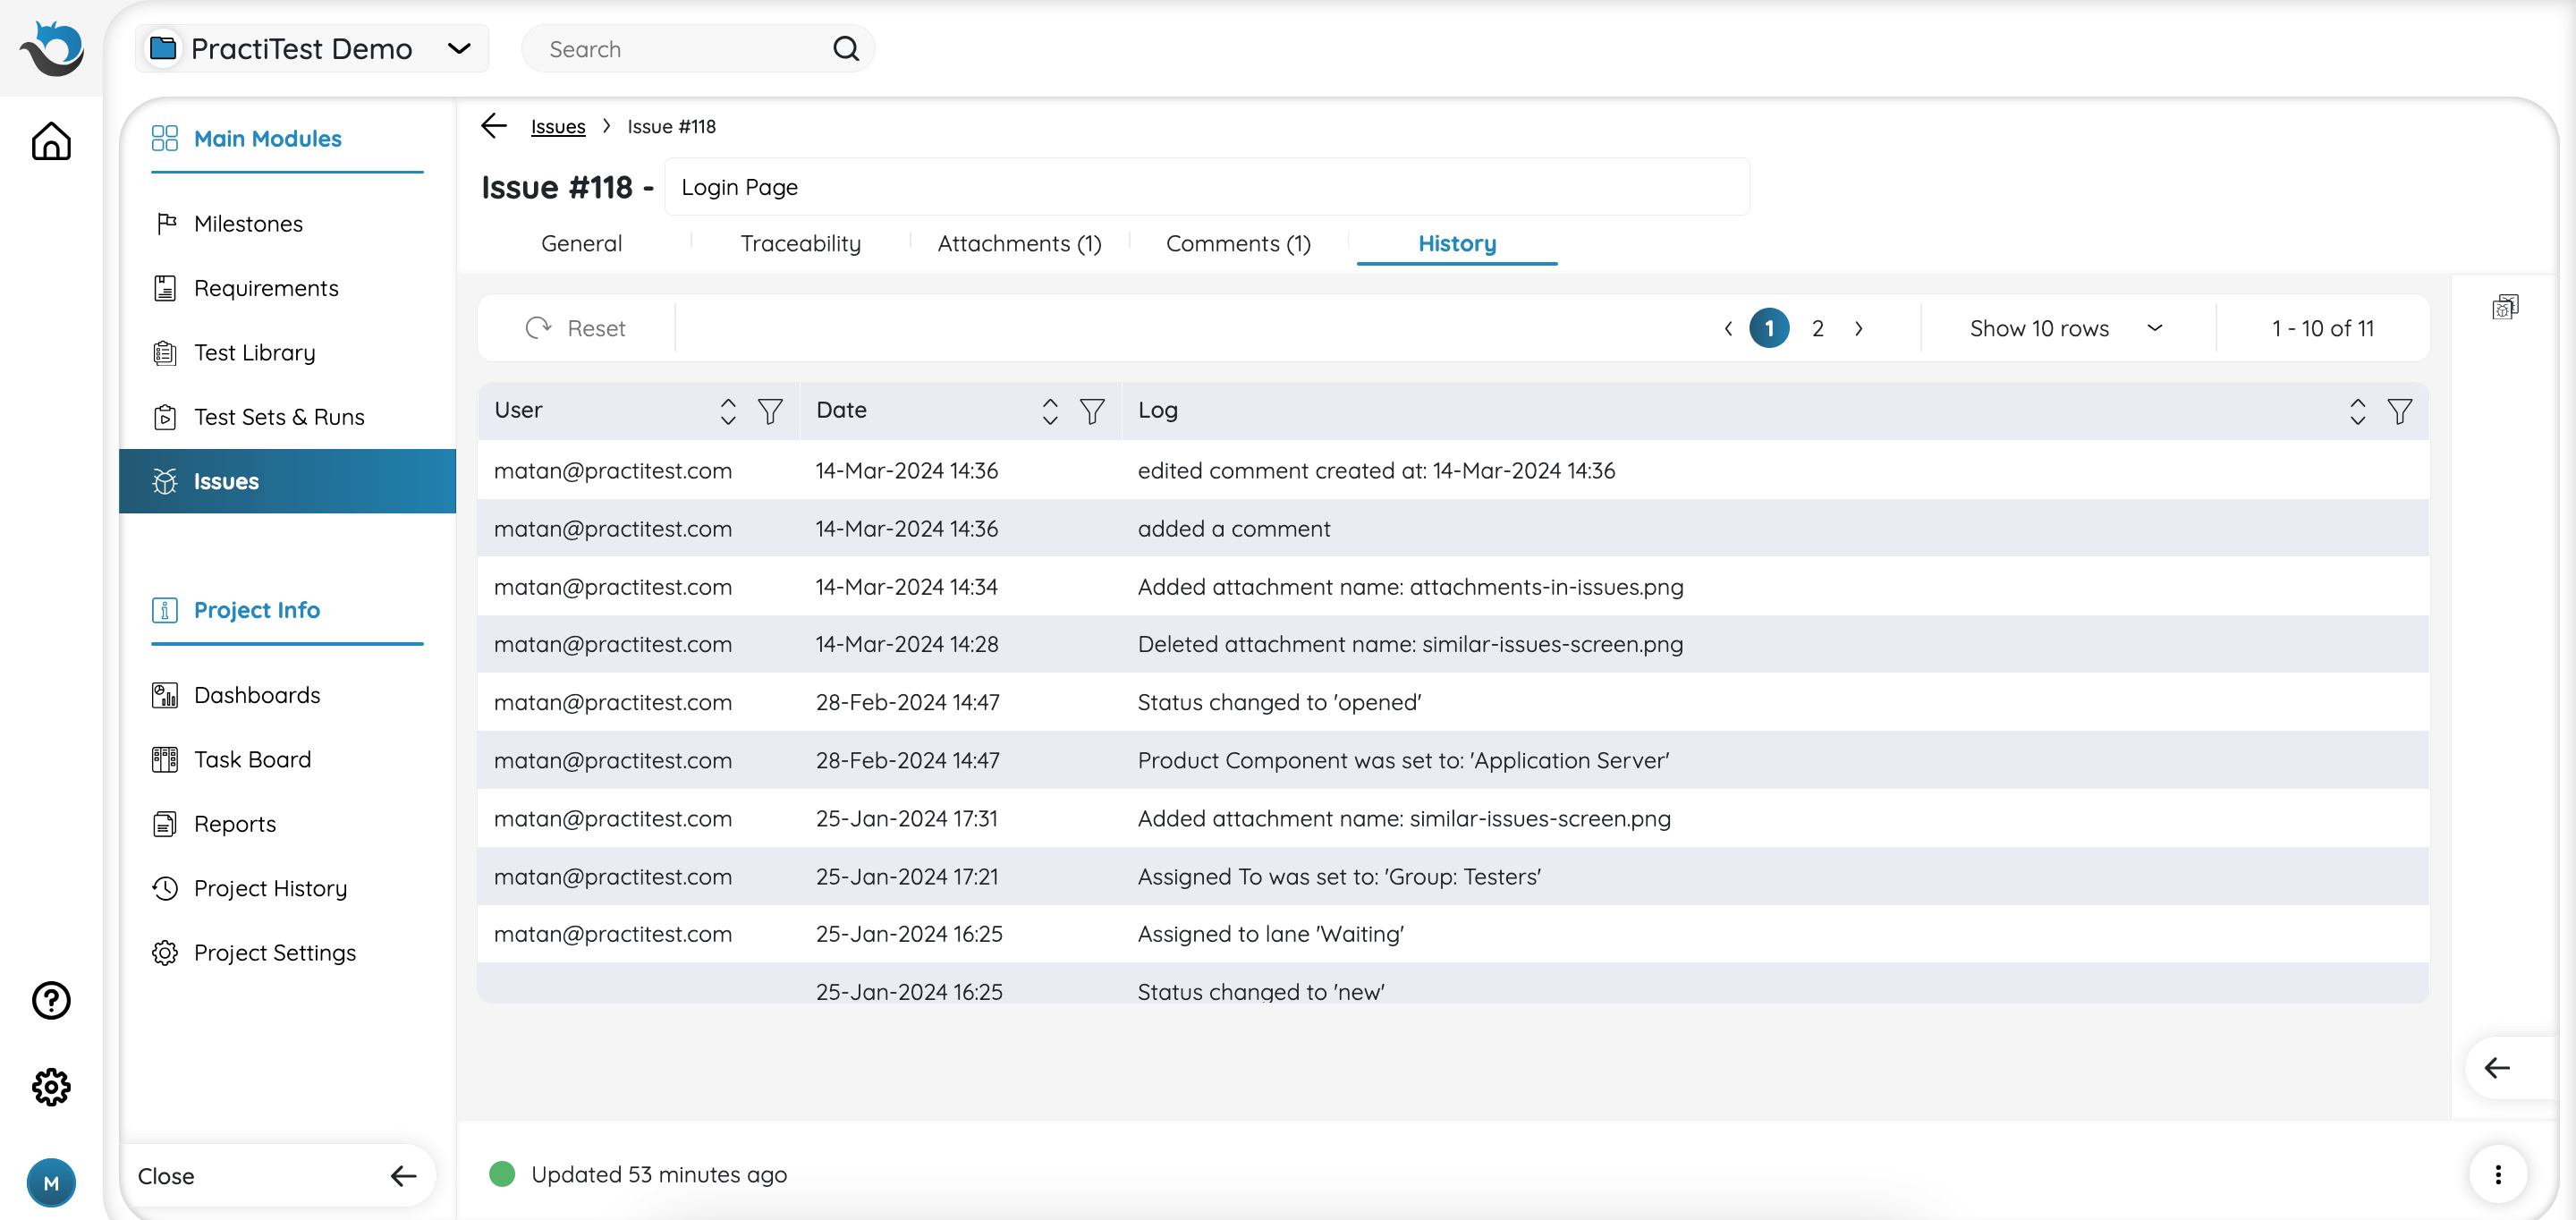
View the activity history log of your Issue.
Followers
This feature allows users to keep track of changes to a specific Issue. In the top right corner of every Issue, you’ll find the Followers icon, indicating the number of users subscribed to receive notifications for that particular Issue. By clicking on the icon, users can view and edit the list of followers (not available for read-only licenses).
![]()
To enable or disable email notifications for yourself regarding a specific issue, use the toggle located next to ‘Me’ in the first row. These are the cases where you will automatically follow an Issue:
- If you are the author of the Issue and you enabled personal email notification in the settings
- If the Issue is assigned to you and you enabled personal email notifications in the settings
To add new users to the followers list, search for them by name and click on the relevant users you want to add. To remove users, simply hover over their name and click on the ‘X’ button.
Note: If you are the one making changes within the issue, you won’t receive an email notification.
