Multi-Factor Authentication (MFA)
PractiTest Multi-Factor Authentication (MFA) provides users with an extra layer of security in addition to the standard login process. Once MFA is activated, users will be protected from unauthorized access and social engineering attacks. Find more information about the MFA approach here.
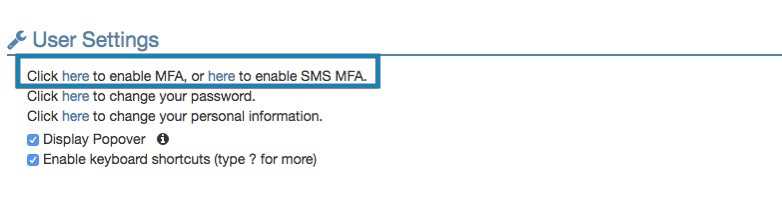
Users can easily enable MFA from their Personal Settings.
There are two types of MFA that PractiTest supports: Virtual MFA and SMS MFA
Virtual MFA allows users to log in by using two steps: entering a username and password, then entering a code sent via the Google Authenticator app or any other application for TOTP authentication.
SMS MFA allows users to log in by using their credentials and an SMS code sent to the phone number provided during setup.
Virtual MFA Setup
- Install the Google Authenticator app or any other application for TOTP authentication on your smartphone.
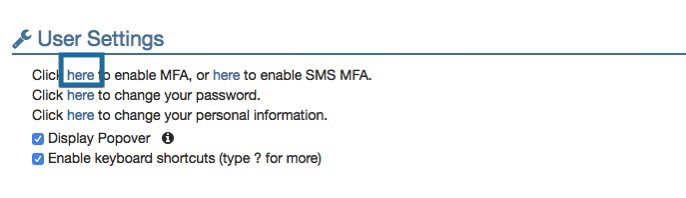
- Go to PractiTest’s Personal Settings - Click ‘here’ to enable MFA.
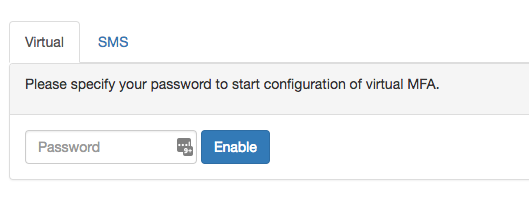
- Enter your password, then click ‘Enable’.
-
Open the app you installed, press ‘+’ and scan the barcode that you see in PractiTest.
-
Paste the code generated by Google Authenticator into the PractiTest code area.

- You will be redirected to the Personal Settings main page and will receive the ‘MFA enabled’ pop-up message. Virtual MFA will now be enabled. Each time you log in, you will need to enter a code generated in the app in addition to your username and password.
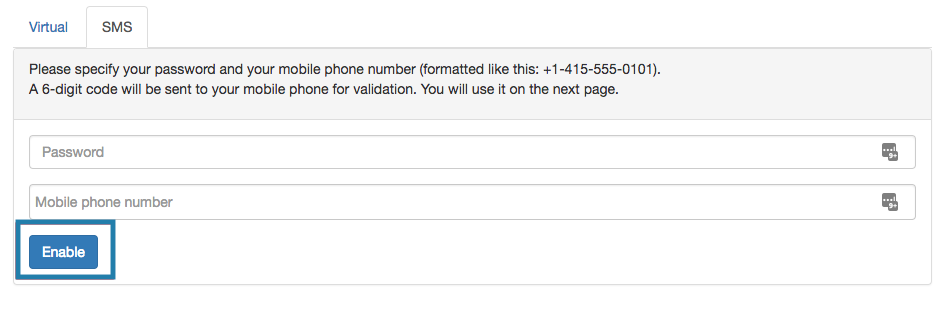
SMS MFA Setup
-
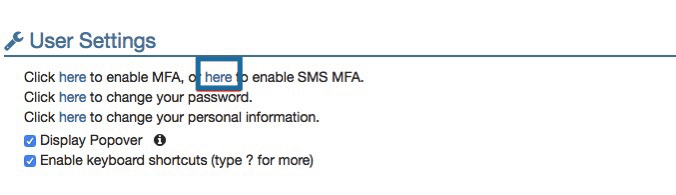
Go to Personal Settings - Click ‘here’ to enable SMS MFA.
-
Enter your password and the phone number where you will receive SMS codes.
-
Input the SMS code that was sent to your phone number and click ‘Verify’.

-
You will be redirected to the Personal Settings main page and will receive the ‘MFA enabled’ pop-up message. SMS MFA will now be enabled. Each time you log in, you will need to enter a code generated in the app in addition to your username and password.
Important Notes For Using MFA
- When MFA is enabled, users should disable it first if they would like to change the password within Personal Settings.
- The ‘Forgot my password’ option is not available when MFA is enabled. Users should ask the account owner or support to reset it for them.
- When an account owner resets the password for a user, MFA will be automatically disabled and the user will need to re-enable it after logging in.
- If a user belongs to multiple accounts, they must contact Support to reset the password if they don’t want to disable MFA first.
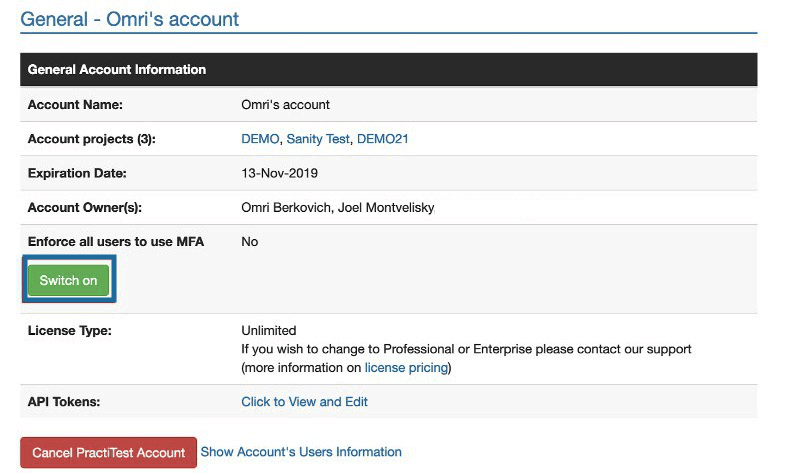
MFA Enforcement (available for the Corporate plan only)
MFA enforcement allows account owners to enforce Multi-Factor Authentication upon all users of the account. This provides an extra layer of security to the account data. To enable MFA enforcement, go to the General tab of the Account Settings and select the ‘Switch on’ button under ‘Enforce all users to use MFA’.
Once MFA enforcement has been enabled in the account, the first time users log into the PractiTest, they will need to choose an authentication method (either Virtual or SMS MFA) in order to continue. Once they choose an authentication method, they will need to use this method each time they log into the system.
Notes:
- If users are already logged in when the MFA is enforced, the enforcement will take effect the next time they are required to log in.
- MFA enforcement can’t be enabled for users for whom SSO is enabled.
SSO
PractiTest supports all SAML2 standards and integrates with all IDPs such as Okta, Microsoft Azure Active Directory, Ping Federate, and ADFS.
SSO is available only for Corporate plan licenses (Ultimate and Enterprise for existing legacy licenses).
To establish SSO, please contact PractiTest Support using the chat feature inside the product or via email: support@practitest.com.
After establishing the SSO, this is how it works:
- The user goes to the PractiTest login page
- The user enters ONLY the email address in the login section (without password)
- After clicking ‘login’, the user is logged in to PractiTest